How to Add a Substack Icon to Your Kadence Social Icons


Wondering how to add a Substack icon to your Kadence social icons? You’re not alone. Substack has quickly become another popular newsletter platform, but Kadence doesn’t include it in the default social icon list just yet. The good news is that you can add it yourself in about five minutes. All it takes is one little snippet of code and a few clicks inside the Customizer. No plugin required, and no coding experience needed either. In this tutorial, I’ll show you exactly where to go, what to paste, and how to make sure your new Substack icon shows up right next to your Instagram, Pinterest, and Facebook icons.
Why Bother Adding a Substack Icon at All?
If you’re publishing on Substack, your website and your substack should be pointing at each other constantly. Your blog readers are the warmest possible audience for your newsletter, because they already like what you have to say. However, they can’t subscribe to something they never see.
Social icons are one of the easiest ways to close that gap. They sit quietly in your header or footer on every single page of your site, working for you around the clock. Adding a Substack icon there means every visitor gets a gentle, always-present invitation to check out your Substack. Plus, it signals that your newsletter is a real, established part of your brand rather than an afterthought.
In short, it’s a two minute task with a long term payoff. If you’re still deciding whether Substack deserves a spot in your content strategy, I shared my full thoughts in why Substack blogging feels like a full circle moment. But if you’re already in, let’s get that icon added.
First, Make Sure Your Social Icons Are Showing
Before we add anything, let’s confirm your social icons actually appear somewhere on your site. They can live in your header, your footer, or both. Either spot works perfectly for this tutorial.
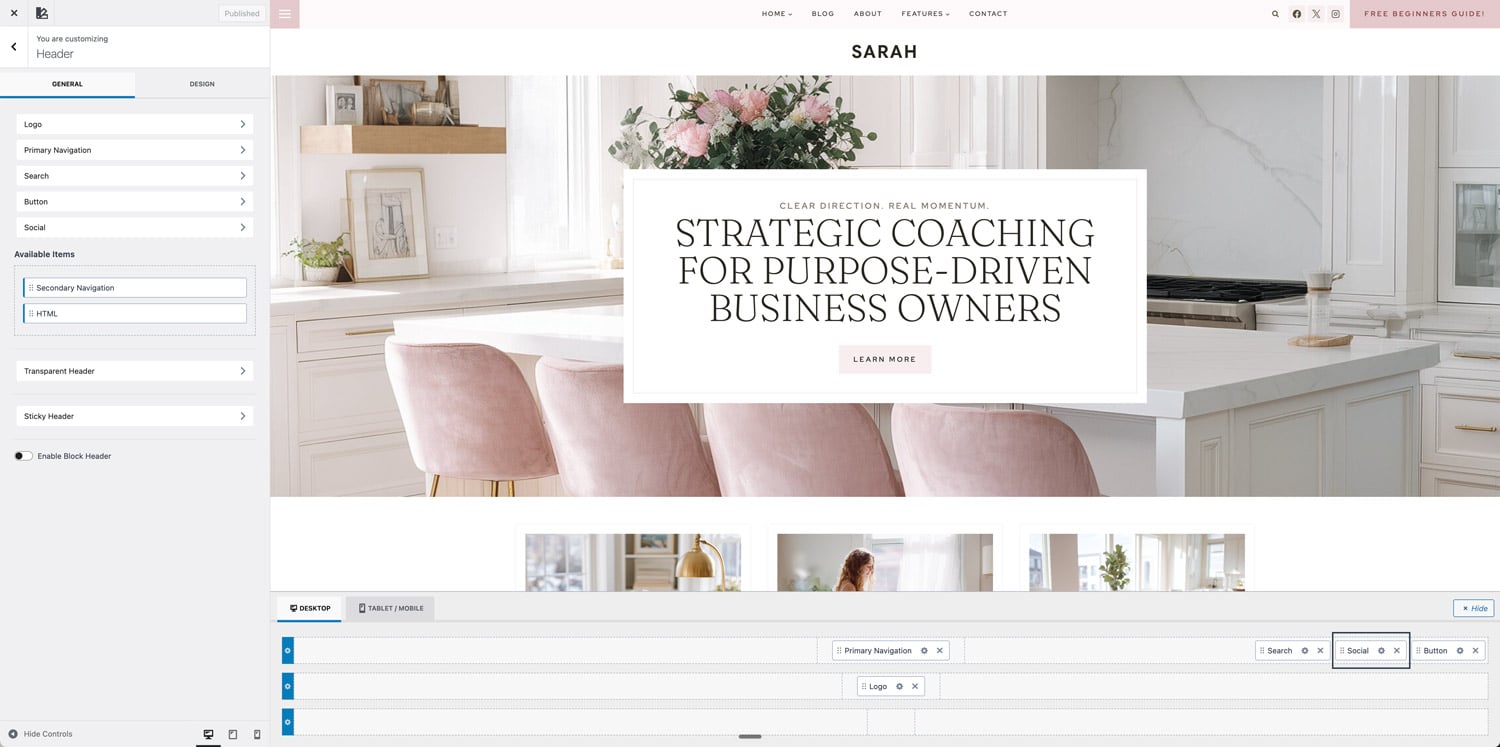
Head to Appearance > Customize in your WordPress dashboard. Then click into the Header section. You’ll see the header builder at the bottom of the screen, which shows every element currently placed in your header rows. Look for an element called Social.
Don’t see it in the header? Click back and check the Footer section the same way. Many of my themes place social icons in the header and/or footer by design, so that’s a common spot.
If you don’t have a Social element anywhere yet, you can drag one into a header or footer row right from the builder. Click the plus sign in an empty section, then choose Social from the list of available elements. For a deeper look at how the whole builder system works, my Kadence Header & Footer Workshop walks through it step by step.
Once you can see your social icons somewhere on your site, you’re ready for the fun part.
Grab the Substack Icon Code
Here’s the snippet you’ll paste into Kadence. It’s the official Substack logo shape saved as an SVG, which is just a lightweight image format written in code.
<svg xmlns="<http://www.w3.org/2000/svg>" width="16" height="16" fill="currentColor" class="bi bi-substack" viewBox="0 0 16 16"> <path d="M15 3.604H1v1.891h14v-1.89ZM1 7.208V16l7-3.926L15 16V7.208zM15 0H1v1.89h14z"></path> </svg>Copy the entire thing, from the opening <svg tag all the way to the closing </svg> tag. Every character matters, so grab it all.
One quick note for the curious: the fill="currentColor" part tells the icon to automatically match the color of your other social icons. That means zero extra styling work for you. Because of that one little attribute, your Substack icon will blend right in with the rest of your set, hover colors included.
How to Add the Substack Icon to Kadence Social Icons
Now for the step by step. The whole process happens inside the Customizer, so there’s nothing to install and nothing to update later.
Step 1: Open the Customizer
From your WordPress dashboard, go to Appearance > Customize. Then click into Header or Footer, depending on where your social icons live.
Step 2: Click on Your Social Element
In the builder at the bottom of the screen, click the Social element. The settings panel on the left will switch over to your social icon options, and you’ll see the list of icons you currently have turned on.
Step 3: Add a Custom Icon
Scroll through the icon options until you find Custom 1. Click to add it to your active icons. Kadence gives you a few custom slots, so if Custom 1 is already being used for something else, Custom 2 or Custom 3 works exactly the same way.
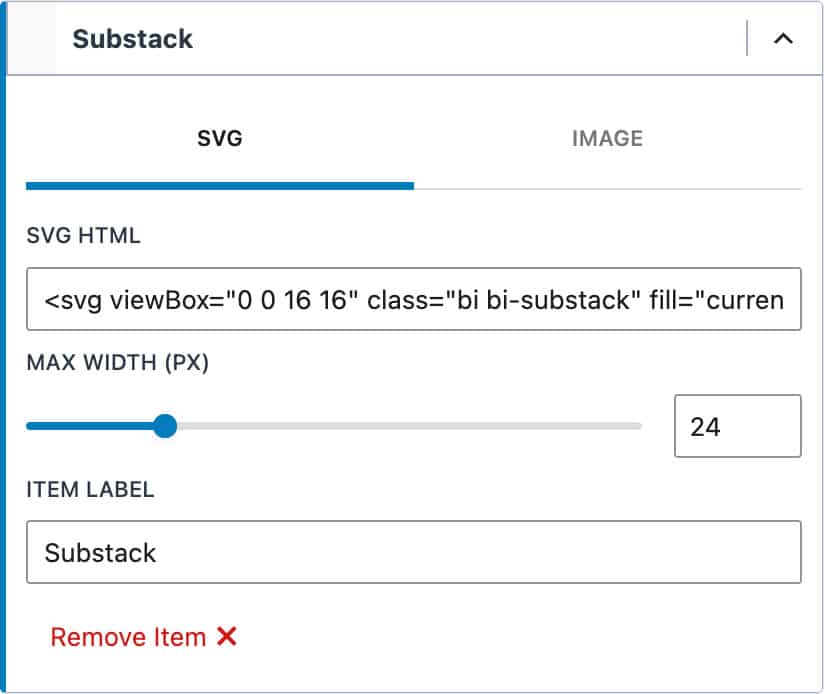
Once Custom 1 is added, click on it to expand its settings. You’ll see a field where you can paste your own SVG source code.
Step 4: Paste in the Substack Code
Paste the full snippet from above into that custom icon field. As soon as you do, you should see the little Substack logo pop into your preview. It’s oddly satisfying!
While you’re in there, you can also set the label to “Substack” so screen readers announce it properly. Small touch, but it matters for accessibility.
Step 5: Add Your Substack Link
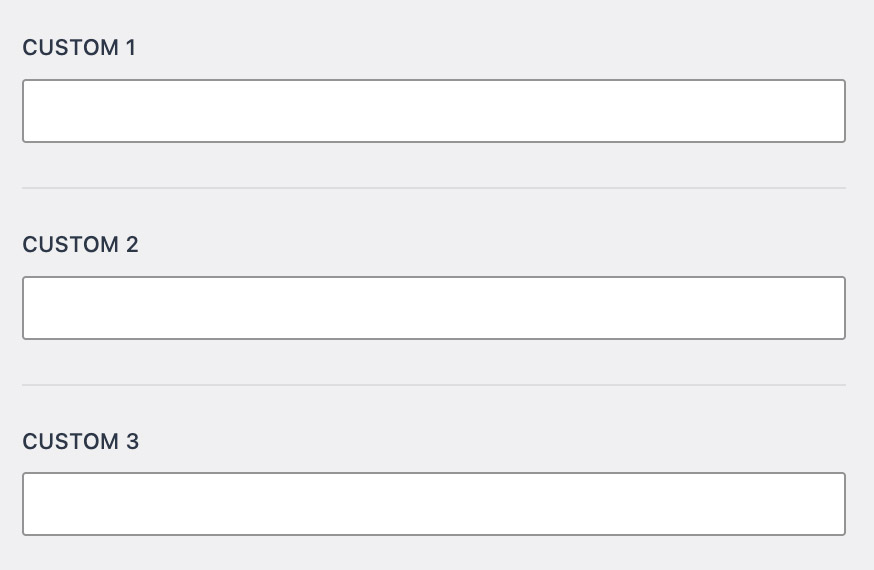
The icon is only half the job. Now it needs somewhere to send people. In the Social element settings, click Set Social Links. Scroll down to the Custom 1 field, then paste in your own Substack link. It usually looks something like yourname.substack.com.
Double check that you’re pasting your link into the same custom slot you used for the icon. If the icon is in Custom 1, the link needs to be in Custom 1 too.
Step 6: Publish and Test
Click the Publish button at the top of the Customizer. Then visit your live site and give your new icon a click. If it opens your Substack page, you’re officially done. Five minutes, one snippet, and your newsletter now has a front row seat on your website.
Styling Your Substack Icon
Because of that currentColor attribute we talked about earlier, your Substack icon inherits the same color settings as the rest of your social icons. Change your icon colors in the Social element settings, and the Substack icon updates right along with everything else. The same goes for hover colors.
Size works the same way. The Social element has an icon size setting, and your custom icon follows it automatically. So if your icons ever look mismatched, check those settings first rather than editing the code.
In other words, treat your new icon exactly like the built-in ones. Kadence handles the styling for you, which is exactly how it should be.
Troubleshooting Common Substack Icon Issues
Most of the time this works on the first try. But if something looks off, here are the usual suspects.
The Icon Isn’t Showing Up
Nine times out of ten, this means part of the code got cut off during copying. Go back to the custom icon field and make sure the snippet starts with <svg and ends with </svg>. Delete what’s there, then copy and paste the full snippet again. Also confirm you clicked Publish, because the Customizer preview and your live site are two different things.
The Icon Shows but Doesn’t Link Anywhere
This usually means the icon and the link aren’t in matching slots. Open Set Social Links and confirm your Substack URL is sitting in the same custom field number you used for the icon. Also make sure your link includes https:// at the front so browsers treat it as a full web address.
The Icon Looks Bigger or Smaller Than the Others
The official Substack SVG is drawn on the same 16 by 16 grid as most icon sets, so it should match automatically. If it doesn’t, check whether the width and height values in the code were accidentally changed. When in doubt, clear the field and paste the original snippet in fresh.
Wrapping It Up
Adding a Substack icon to Kadence social icons really is that simple. Confirm your social icons live in your header or footer, drop the SVG code into a custom slot, add your link under Set Social Links, then publish. Meanwhile, your readers get one more easy way to find and subscribe to your newsletter, and every page of your site quietly points people toward your best content.

Want a website where the design work is already done for you?
My feminine Kadence child themes are built on the exact same flexible system you just used, so every little customization like this stays quick and painless. Browse the collection and find the one that feels like your brand.