How to change your WordPress username
In a recent blog post we discussed ways to keep your site secure. One of the best ways to help keep your site secure is to make certain your username for your WordPress dashboard isn’t “admin”. Sometimes when you do a fresh install of WordPress on particular hosts, they, by default, will assign your username as “admin”. Most people have no idea that this is even an issue. But the reason it’s an issue is that if a hacker wants to get into your site, they already have 50% of the login! If you are currently using “admin” as your username, and we know there are a LOT of you… take 5 minutes of your time to follow the steps we are sharing today to get this changed up!
So if your username is “admin” how do we change this? If you search articles on the web for this, they will likely take you through phpmyadmin and your database to do this, and if you’re just starting out, that’s a super scary place to be. The database of your site is what stores all your data – posts, pages, comments, settings, etc. This isn’t a place I want you to be when you’re just starting out!
I’m here today to tell you there is a much much simpler way to do this! It takes just a couple steps to do and will greatly help prevent your site from being hacked into.
Let’s get started
1. Login to your WordPress dashboard using your current login with “admin” as your username.
2. Navigate to Users>Add New and you’ll see this section on the lower half of the page.

- Go ahead and put a new username here for yourself. Use something that is specific to you but not super easy to guess. We will make sure this isn’t shown anywhere on the site in a future step.
- Enter your own email address.
- Make double sure that the Role you select is the Administrator role. This is important so you’ll have access to everything you need to.
- Go ahead and checkmark the option to add the user without sending an email. This way the user will be created immediately.
3. Once the new user has been created go ahead and log out of your site. You can do this in the top right-hand corner of your dashboard where you see your name – this will drop down and give you an option to log out.
4. At this point go check your email. You should have an email there that wants you to set a new password for the user you just created. Follow the steps to set a password for yourself and then get logged in to your dashboard with your new username and password.
5. Once you’re in, go to Users>All Users and hover over the one that says “admin”. You’ll see an option pop up right below that to remove. Go ahead and hit remove and confirm that request. This will delete the admin user from your account and that login will no longer work. Moving forward you will use the login you just created for your site.
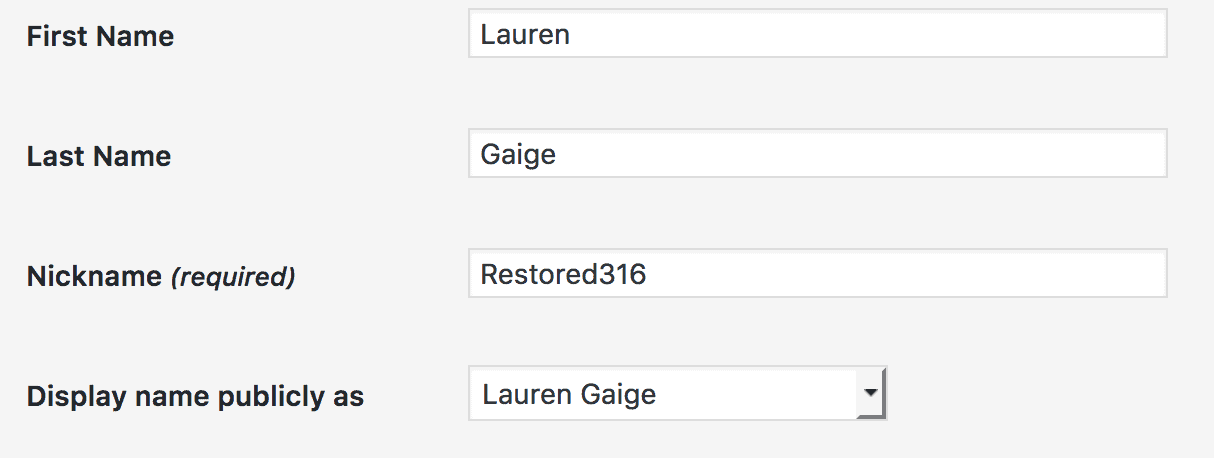
6. The last thing we want to do is make sure our new username doesn’t appear on the site anywhere. Navigate to Users>Your Profile. You’ll see a section on this screen like the shot below. You’ll want to be sure your name is entered there and select from the Drop Down menu an option other than your Username to be shown publicly.


Thank you so much for this article! I thought I always have to have the “admin” username and now I know how to change it! Thank you so much 🙂
You’re so very welcome!
Lauren,
I tried to do this with my site, but it didn’t allow me. It says that the email I listed is already in use.
But if I go to the All Users, I have the drop down to change the role to Subscriber, Editor, Author and Administrator. Should I just change it there?
Thank you for all these great posts too!!
Ahh yes! I should have addressed this.
When you create your new user, use a temporarily other email address for yourself. It will need to be one you have access to. This will just be for a moment.
Then once you get past deleting the admin user, you can go to Users>Your profile and update your email address there.
Thank you so so much! I had read somewhere that I could NOT change my user name, admin!! Now I understand how that happened. You are so amazing!!
You’re so very welcome!