A WordPress staging site is one of the best tools you have for redesigning your blog without readers watching every messy step. It’s a private copy of your website where you can test a new theme, play with fonts, and break things with zero consequences. However, here’s the part nobody explains well: the moment you push that staging site back to live, it replaces everything. And I mean everything. So let’s talk about how a WordPress staging site actually works, what gets overwritten, and how to launch your redesign without losing a single blog post (or order).
What Is a WordPress Staging Site?
A WordPress staging site is a copy of your live website that sits on a separate, private URL. Your visitors can’t see it, and search engines shouldn’t either. Think of it like a dressing room. You try things on, check the mirror, and only walk out when you love the outfit.
Most good hosts will create a WordPress staging site for you with a click or two. For example, BigScoots includes staging with their WordPress hosting, which is one of the reasons we love and recommend them. Other hosts offer it too, and there are plugins that can handle it if yours doesn’t, but if in doubt, contact your hosting provider.
Why use a staging site at all?
Because redesigning on your live site is like repainting your living room in the middle of a party. Everyone sees the drips. A WordPress staging site lets you:
- Test a new theme, or even switch from Genesis to Kadence without wrecking your site
- Try plugin updates before they touch your real site
- Rework your homepage, menus, fonts, and colors
- Fix the things you break (you will break things, and that’s okay)
How a Staging Site Works (and the Part That Trips Everyone Up)
There are two moves to understand: live to staging, and staging to live. Knowing what each one does will save you a lot of heartache.
Pushing live to staging creates a snapshot
When you copy your live site to staging, your host takes a snapshot of your site at that exact moment. Posts, pages, images, settings, plugins, and comments all come along. From that second on, the two sites are completely separate. They don’t talk to each other, and they don’t sync.
Changes on live after that point get erased later
This is the big one, so I’m going to say it plainly. If you make changes on your live site after creating your WordPress staging site, those changes will be overwritten when you push staging to live.
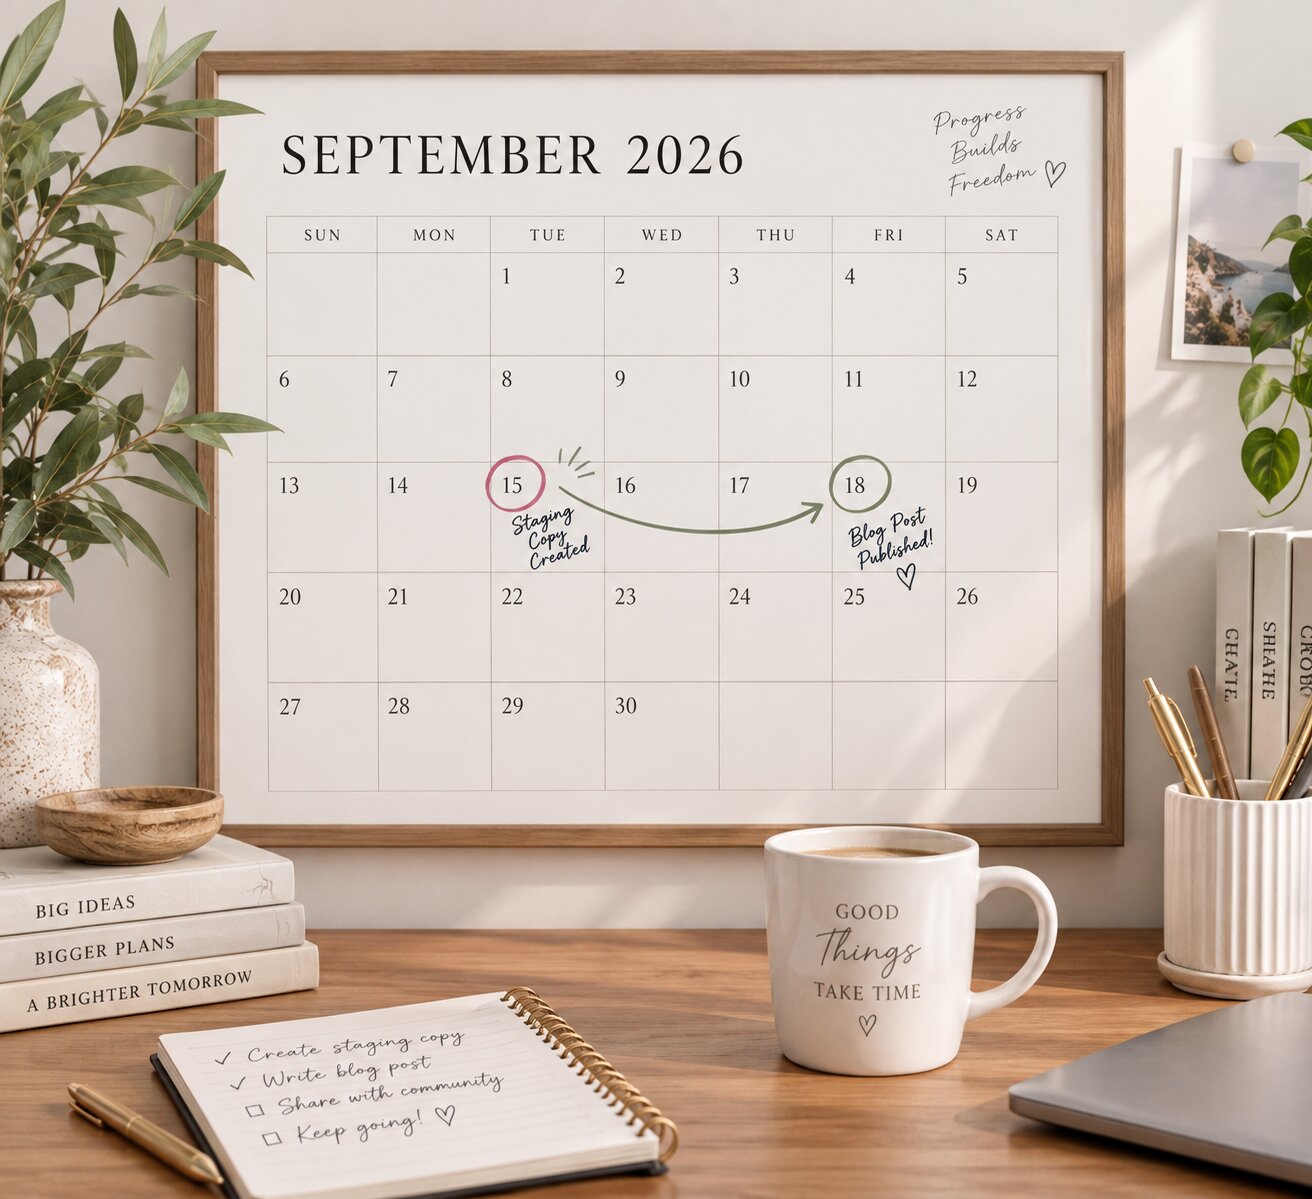
Here’s how that plays out. Say you create your staging copy on Monday. On Wednesday, you publish a new blog post on your live site. Then on Friday, you push staging to live. That Wednesday post? Gone. Your staging copy never knew it existed, so it simply replaces your live site with the Monday version.
The same goes for new comments, edits to older posts, updated plugin settings, and anything else that happened on live in the meantime.
How to keep your new content safe
You don’t have to freeze your blog while you redesign. You just need a simple plan:
- Keep a running list of everything you publish or change on live after the staging copy is made.
- Save copies of new posts. A quick copy and paste into a doc works great. Even better, give every post its own home, with the draft, images, and notes all in one folder. That’s the exact system I teach in Organized Blogger, and it makes re-adding posts after a redesign so much easier.
- Re-add them on staging right before you push, or on live right after.
- Keep your staging window short so that list stays manageable.
Pushing Your WordPress Staging Site to Live
Once your WordPress staging site looks amazing, it’s time for the big moment. Before you click that button, here’s what actually happens behind the scenes.
It replaces everything on your live site
Pushing staging to live isn’t a merge. It’s a swap. Your staging site becomes your live site, and whatever was on live before gets overwritten. As a result, your theme, pages, posts, media, menus, and settings will all match staging exactly.
Always back up your live site first
Please, please do this. Before you push, make a fresh backup of your live site. If something goes sideways, you can restore it in minutes instead of rebuilding for weeks. WordPress has a helpful overview of WordPress backups if you want to understand your options.
Most good hosts run automatic backups too. Still, I like to create a manual one right before any push. It’s a two-minute step that buys a whole lot of peace of mind.
Your staging links update automatically
Now for some good news. Your staging site uses a different URL, so every internal link, image, and media file points to that staging address while you work. Naturally, you might wonder if you’ll need to fix all of those links by hand after launch.
You don’t. When you push staging to live with your host’s tool, those staging URLs get swapped for your real domain during the move. Internal links, image links, and media library files all update on their own. No search and replace required on your end.
That said, it’s always smart to click around after launch. Check a few posts, your menus, and your images just to make sure everything looks right.
Running a WooCommerce Store? Don’t Push Staging to Live
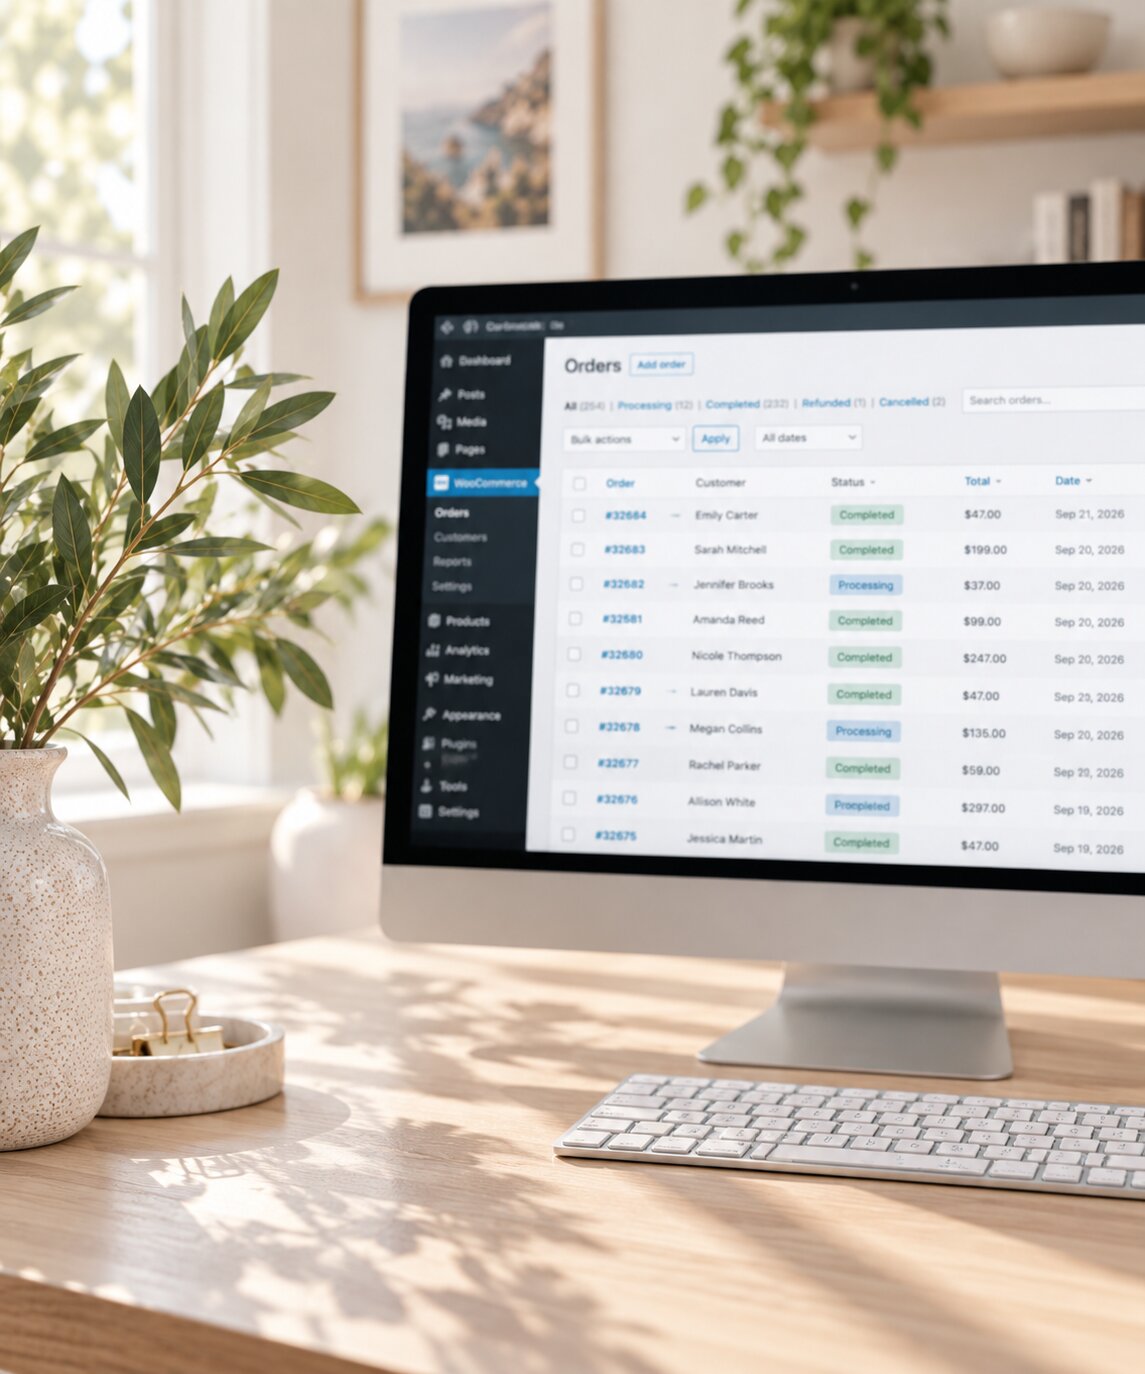
If you have an active WooCommerce shop with regular orders, pushing your WordPress staging site to live is not an option for you. I know that’s not what you want to hear, but it’s so important.
Remember that snapshot? Your WooCommerce orders and customer data live in the same database as everything else. So every order placed after you created your staging copy gets wiped when you push from staging to live.
What you’d lose
- Orders placed after the staging copy was made
- Customer accounts created during that window
- Download access for digital products, so customers log in and find their purchases missing
- Fulfillment records for physical products you still need to ship
- Financial records you rely on for bookkeeping and taxes
- Inventory counts that changed with each sale
For digital product sellers especially, this gets messy fast. Picture a customer who bought your ebook yesterday and suddenly can’t access it. Now you’ve got support tickets and a lot of apologizing to do.
What to do instead
Moving a WooCommerce site from staging to live takes a bit more manual work. Instead of pushing, I recommend copying your new design over piece by piece, like pages, layouts, and settings, directly onto the live site. That way your orders and customer data never get touched.
I recently worked on a custom website for a business with a massive ecommerce store. Tons of pages. Tons of products. Every bit of that redesign had to be moved over by hand, because pushing staging to live would have erased real orders from real customers. It took longer, but their store kept running and nobody lost a thing.
If that sounds like a lot, you don’t have to figure it out alone. We’re available for hire for exactly this kind of project.
Not sure how to move your WooCommerce redesign over safely? Book a one-on-one call with me and we’ll talk through your options together.
Short on Time? Focus Your Staging Site on These First
If you publish a new post every week, a long redesign means a long list of content to re-add later. So the goal is to get your WordPress staging site live as quickly as possible. Here’s what I always recommend tackling first.
1. Fonts and colors
These change the look of your entire site at once. Nail them down on staging and everything instantly feels fresh.
2. Your homepage
It’s usually the first thing people see, and it sets the tone for your new look. Get it polished before you launch.
3. Everything else can wait
Your about page, sales pages, sidebar, and extras don’t all have to be perfect on launch day. You can temporarily hide unfinished pages, keep them in draft, or leave the old version up for now. Then keep working on them directly on your live site after you push. Less time on staging means fewer posts to re-add and a much calmer launch.
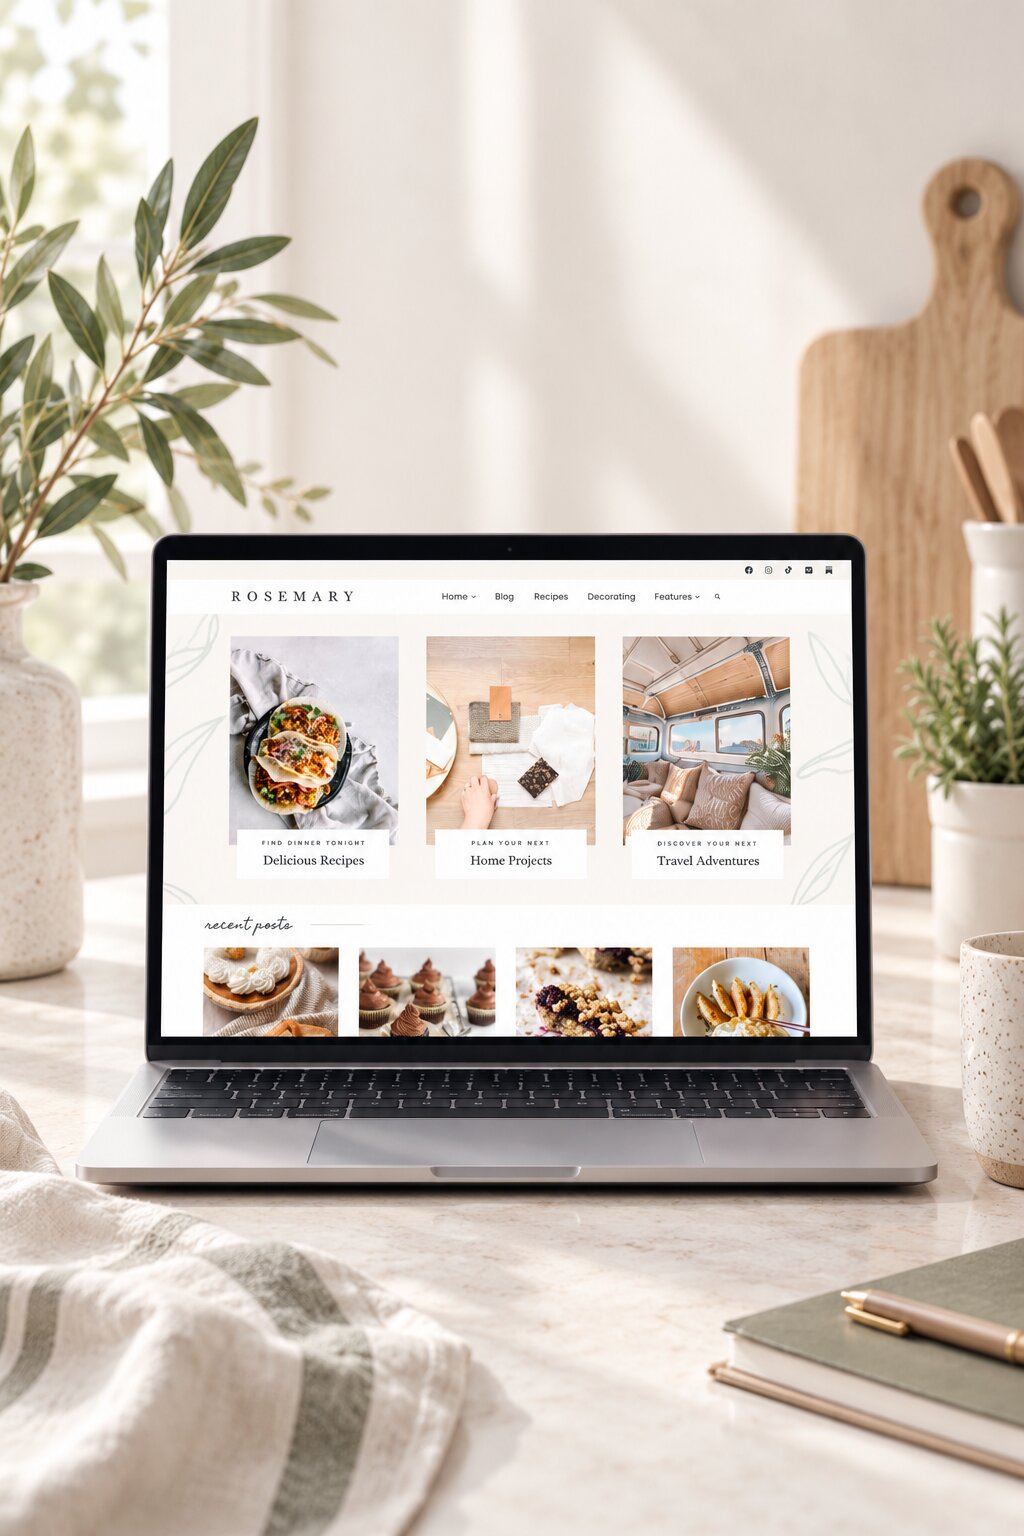
Here’s where a ready-made theme saves you hours. Our Kadence themes come with fonts, colors, and a homepage design already done, so your “do this first” list gets way shorter.
Your WordPress Staging Site Checklist
Before you start, here’s the whole process at a glance:
- Create your staging site from your live site
- Write down the date and start a list of any changes you make on live
- Work on fonts, colors, and your homepage first
- Hide or draft any unfinished pages
- Back up your live site
- If you run WooCommerce with active orders, skip the push and copy changes over manually
- Push staging to live
- Re-add any posts or changes from your list
- Click around to double check links, images, and menus
Your redesign, mapped out
Seven steps from staging to live
Step 1: Before you start
Want this as an interactive checklist you can work through as you work? Grab the free Staging to Live Launch Interactive Checklist →
Wrapping It Up
A WordPress staging site gives you a safe space to redesign without your readers seeing the mess. Just remember the two big rules. First, anything you change on live after making your staging copy will be overwritten when you push. Second, pushing staging to live replaces your entire live site, so back it up first.
Your links will update on their own, which is one less thing to worry about. But if you run an active WooCommerce shop, skip the push and move things over by hand instead. Finally, start with fonts, colors, and your homepage, launch sooner, and finish the rest on live.
Ready to give your blog a fresh new look? Browse our Kadence themes → and start your staging makeover with the design work already done.
Ready to turn your ideas into something more?
Our feminine WordPress themes are designed to help you build a beautiful, professional website — whether you’re starting a blog, selling products, or growing a business.