How to create multiple Category Indexes with Gutenberg
A common feature of all our themes is the Category Index that can be used to organize categories and get your readers to the content they are looking for. This page is especially helpful for bloggers who write about multiple topics or are sharing a variety of different recipes. There may also be instances where you have so much content that you need to separate it by sub-category. This then poses the question: “Can I create another Category Index on my site?” The standard answer until now has been that it’s definitely possible, but it’s a customization because it requires a lot of coding. This customization is by far the most frequent request we receive.
Insert Gutenberg! When Gutenberg released, I knew that the Category Index (among many other things) would be one of the first things I’d replace so that you could create as many Category Indexes on your site as needed!
I’m excited to share with you how to do this. Let’s dive in!
Install and Activate Genesis Blocks
In order to add posts to your Category Index page, we need to install and activate the Genesis Blocks plugin. Not sure how to install and activate a plugin? See this.
NOTE: When this tutorial was created this plugin was called “Atomic Blocks.” Any reference to Atomic Blocks is now replaced with Genesis Blocks.
Create/Edit a category index page
Already have a category page?
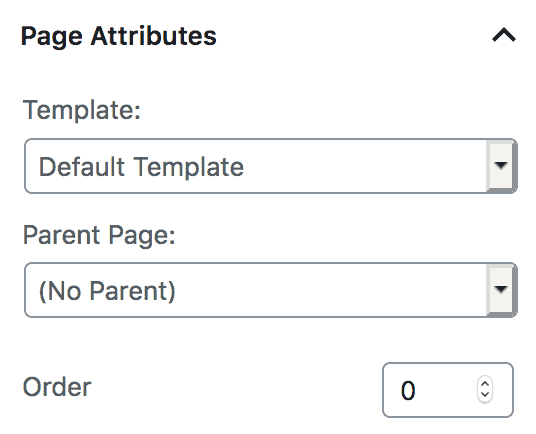
If you already have a category index page created on your site, you’re welcome to use that page. You’ll simply follow the rest of the steps in this tutorial but you’ll look in the Document settings on the right and under Page Attributes > Template, be sure to select the Default Template instead of the Category Index one that you’ve been accustomed to using.
Need to create a new page?
If you don’t currently have a page for this, you’ll navigate to Pages > Add New and give your new page a name.
Create your Post Grid Block
Add a GB Container
We are first going to create a container that will hold our title, post grid, and button to see more posts from our individual category. The reason we will create this container is that it will make it easy for us to duplicate this block and repeat our different categories.
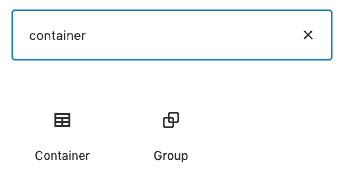
To do this, hover over the area of the screen where you would usually begin writing your blog post. You’ll click the + symbol on the left side to add a new block. In the search box at the top you can type “container” and select the container block to add by clicking on the icon.
Add Heading Block
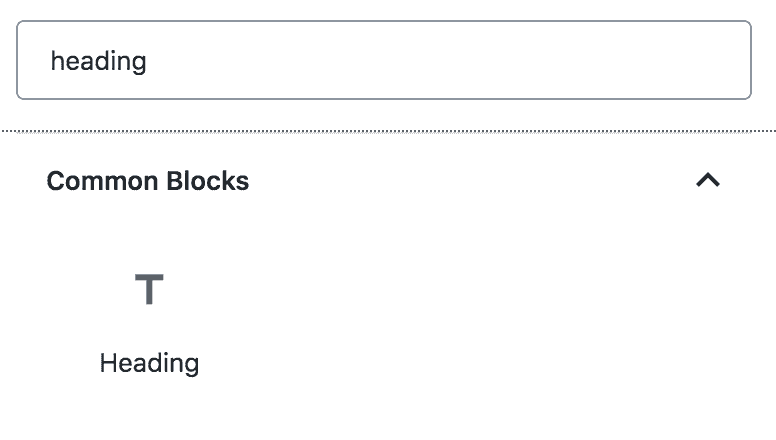
Next, we will add a heading to our existing block. When you hover over the new Container, you’ll now see the + symbol on the right. You’ll click that icon and search for the “Heading” block
Add GB Post Grid
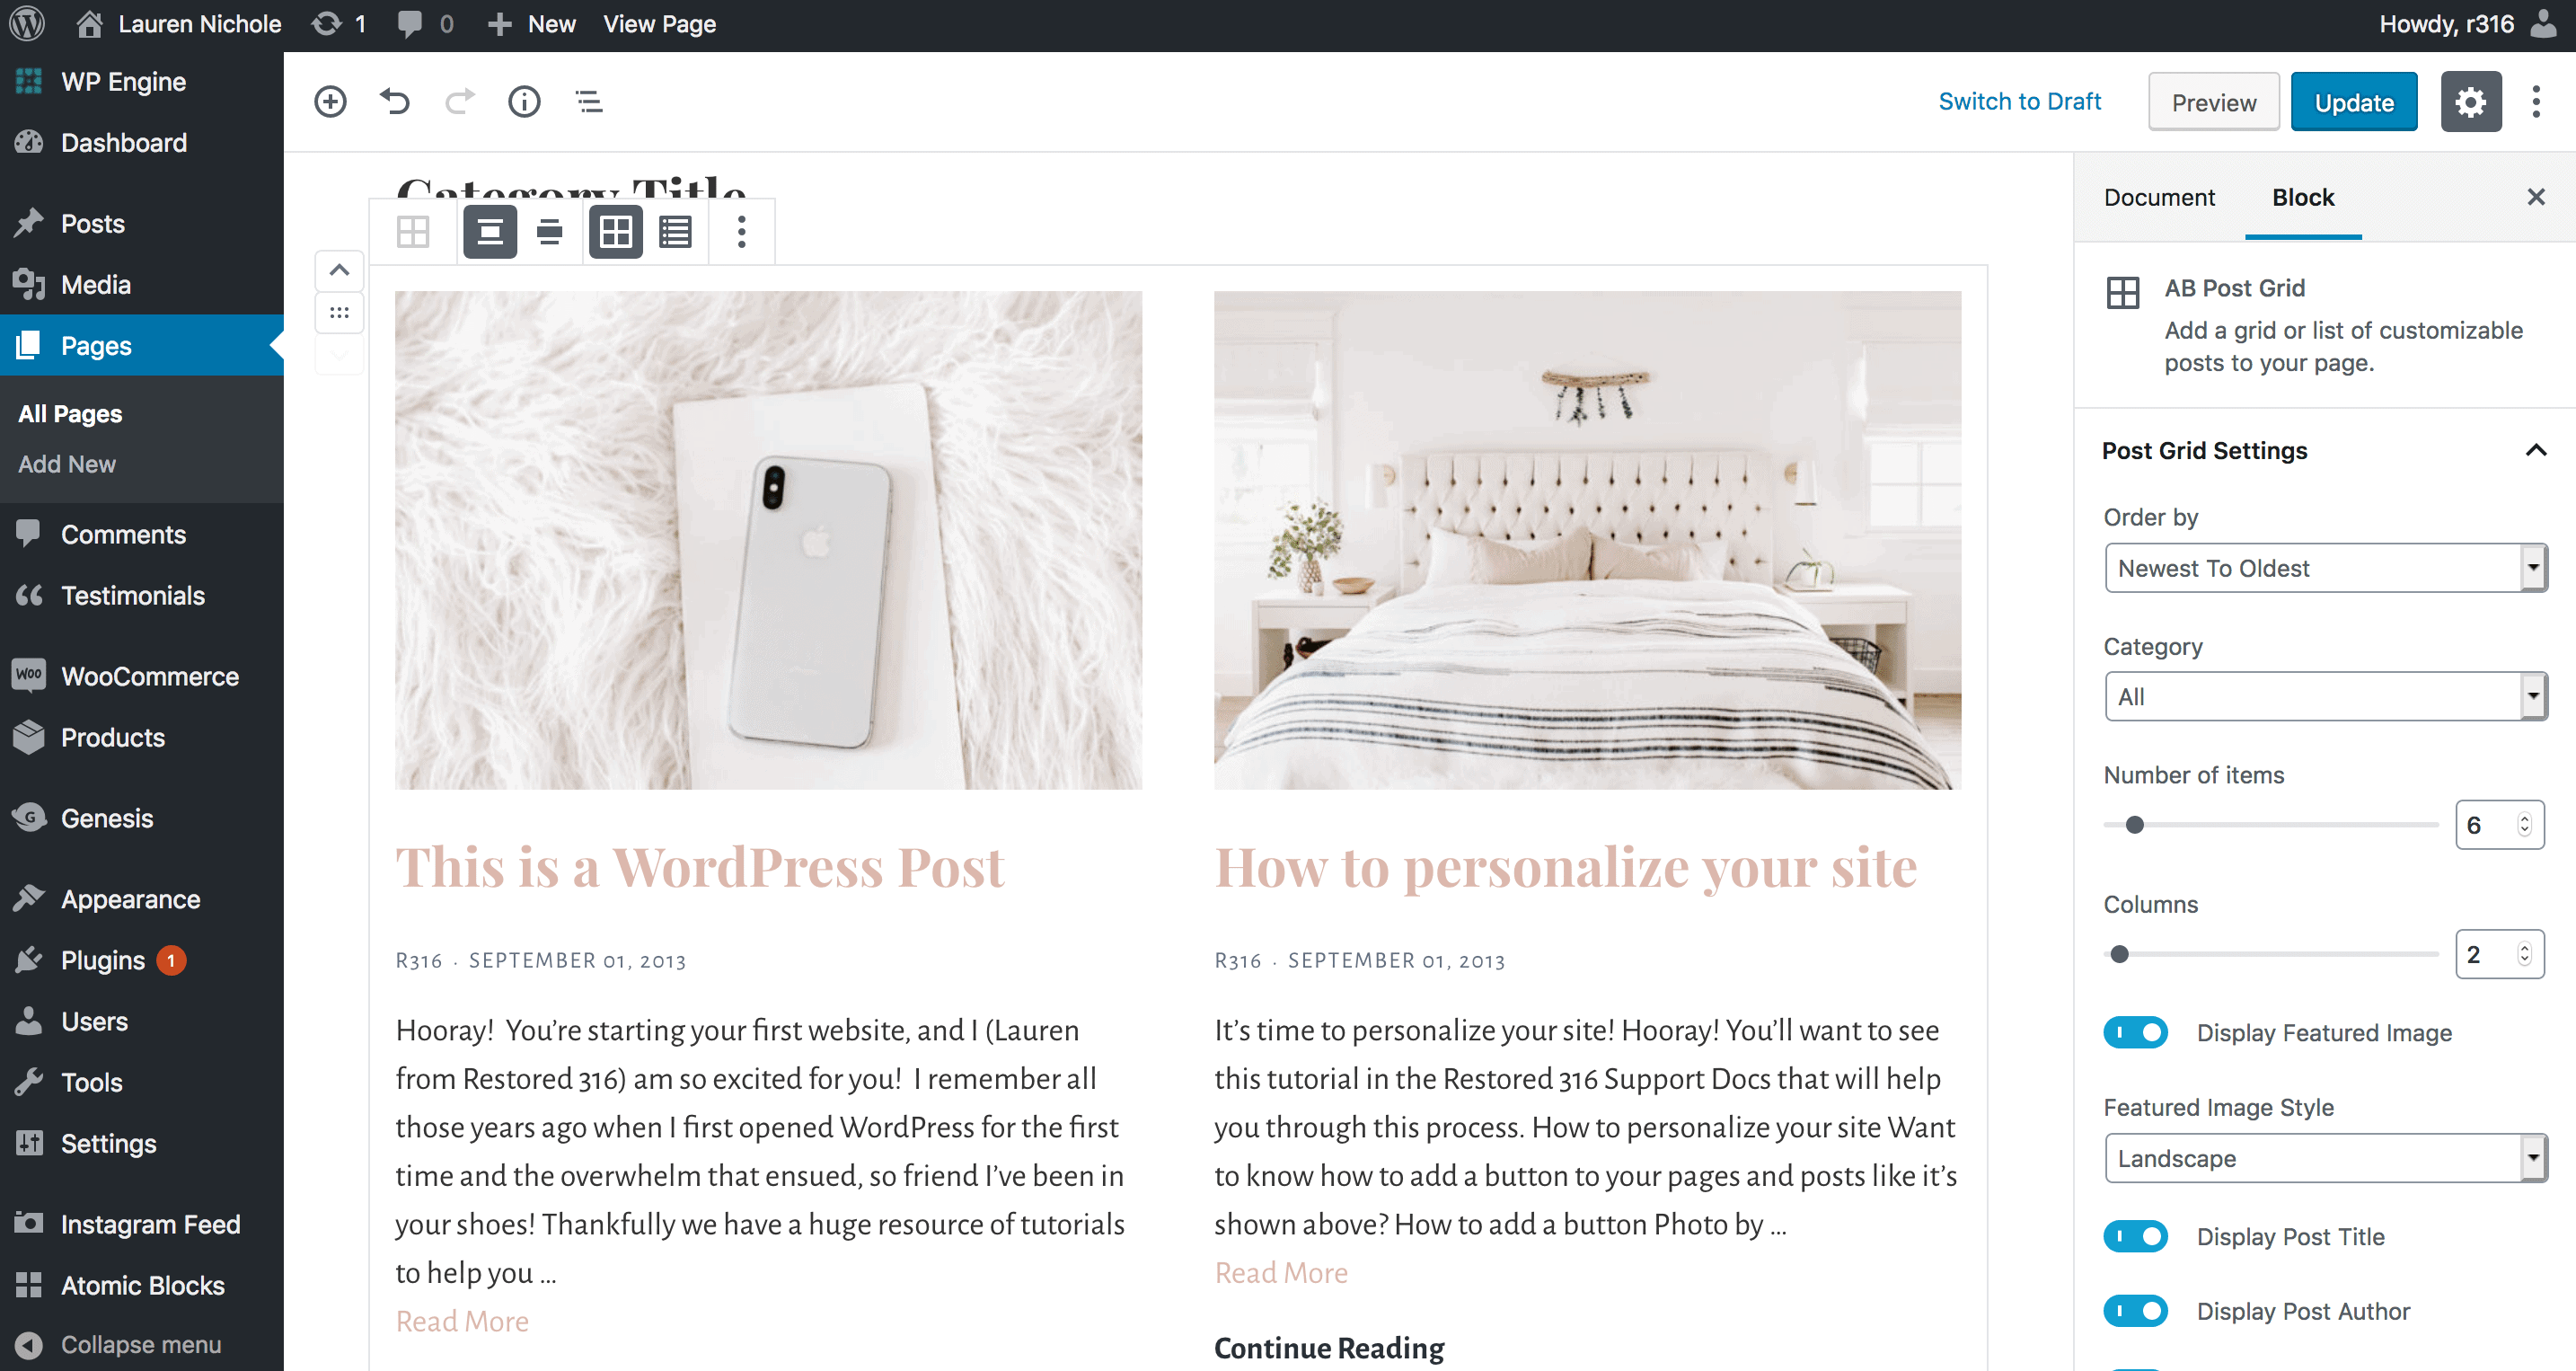
Next, we will add a GB Post Grid block the same way we’ve been adding blocks above. This block will display our blog posts from the category we want. Once this block is added, you’ll have a list of settings available on the right that can be completely customized to your needs. Change the category, number of posts to display, number of columns, image size, and more!
Add a Button
Now, you’ll add a button block at the bottom of this container block to link to the actual category of the posts you’re displaying. This will allow your readers to get to more posts from that category.

Want a shortcut?
If you’d like a shortcut to creating this block, you can click the 3 vertical dot icon in the top right hand side of your post editor and switch to the Code Editor. You’ll take the code below and paste it into the box and then follow the same steps and switch back to the visual editor
Duplicate Post Grid Blocks
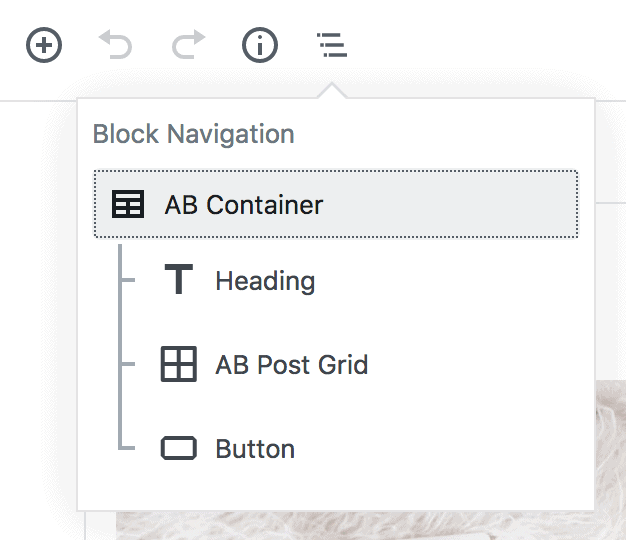
Now that we’ve created our entire block of content, we can now duplicate that and then just modify the wording and categories selected. Navigate to the 3 little lines at the top of your post editor. This is your Block Navigation. You’ll select the GB Container line item.
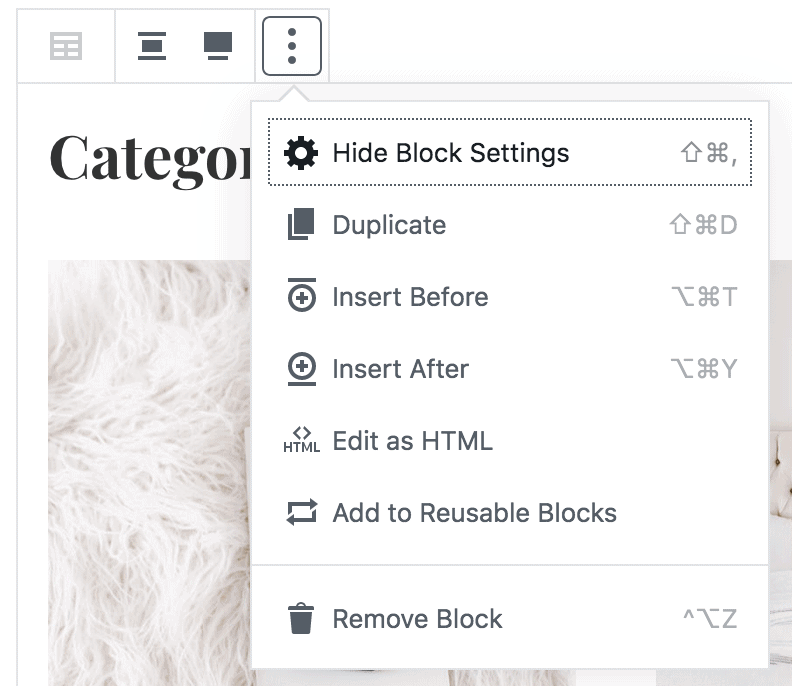
Once selected, you’ll see the option panel for the GB Container block with an icon that has three vertical dots. Click this and you’ll be given the option to duplicate the block.
Final Steps
With the block duplicated, you can click into each block and edit titles, the category for your grid, and the text and button link on your button. You can then duplicate this block as many times as needed until you’re displayed all categories or sub-categories you’d like displayed. You’ll publish your page at the end and you’re all set!
Are you a visual learner?
You can see this video below that walks you through this process step by step:




Dear Lauren,
Thank you so much for this post! I am using Genesis Blocks (since it absorbed Atomic Blocks), but this tutorial still works great.
I have one question: I cannot for the life of me figure out how to adjust the post font size. It is gigantic. The only way I can see to adjust it is under the settings under \”post and page markup,\” which allows you to change the post title heading tag, but this did not change anything (I am trying all of this on a staging site of my blog).
I am sure there is something simple that I am overlooking, but I cannot figure it out. Any tip or guidance would be so appreciated :).
Hi Camilla,
Glad this helped! You’re welcome to email us and we’ll see if we can help with the font size issue.
Hi Lauren! Thank you so much for the great tutorial! I wonder if there are ways to exclude posts that have appeared in blocks above? For example if I have a post that is in both home decor and Christmas categories, it would appear in both grids. How do we prevent that? Thank you!
Ananda,
You can double-check with StudioPress support on this, but I don’t think so.
Hope that helps!