Get Started with Restored 316
So you’re just getting started on this new adventure and you have absolutely no idea what you’re doing? Friend, you are not alone! Many many people just like you walk this road every single day. It wasn’t that long ago that I was sitting right where you are, and I remember that daunting feeling trying to figure out how to do all this stuff. I’m here to help guide you through this one step at a time. Imagine me sitting right alongside you at my coffee table and we are doing this together… because I’m now your new website BFF!
Step 01
Decide on a business name
Choosing a name for your business or blog is no easy feat. It takes time and patience to find that perfect name that fits your heart’s desire and isn’t already taken. Before you let your heart get too settled on a specific name, you’ll want to do 2 things: Google it, and search to see if the domain is available.
So what is a domain? A domain is your address on the internet. Just as you would give someone your mailing address for them to mail you a letter, you’ll want to give your friends a domain address to be able to find your online home. You can search domain names right here to see what is already taken and what is available.
Why do we need to google the name? If you want to name your new business Gold & Silver, but you google these words and several other businesses come up, you’re not only going to be competing for google ranking alongside those people with the same business name, you also may run into trademark issues depending on the nature of the other businesses with the same name. Trust me, you don’t want to get months down the road and get a Cease & Desist letter because your business name is conflicting with someone else. Think of a unique name and take your time!
Once you’ve decided on a name and have discovered the domain is available, it’s time to actually purchase that domain…
Step 02
Purchase your domain & hosting
The next thing we want to do is secure that domain name that you’ve spent so much time thinking up. You can purchase a domain through Godaddy, but most hosting providers will allow you to register your domain at the same time as signing up for hosting so you may want to do it all in one place. If you’ve already purchased your domain, I cover how to point this to your host in step 03.
So what is hosting? Let’s think of this like we discussed above with your domain being your address. If you give someone your address to your home, your home is sitting on a piece of land. The hosting is like the land for your online home. It consists of servers, files, and databases that keep your site visible and on the internet. No website exists without hosting.
Step 03
Install WordPress & Login
Immediately after your order is complete for your new hosting account, you’ll receive an email with all your new login information for your new hosting account.
If you choose to sign up with BigScoots, you’ll need to quickly install WordPress (the software used for your website). Here are step by step instructions for how to do this.
If you purchased your domain elsewhere, you’ll want to see BigScoots instructions for how to change your nameservers to point to their hosting service:
- To change your name servers with GoDaddy, check out this guide.
- To change your name servers with NameCheap, check out this guide.
- To change your name servers with eNom, check out this guide.
- To change your name servers with Name.com, check out this guide.
- To change your name servers with Google Domains, check out this guide.
Please note: If you are having to change your nameservers to point to BigScoots, this process can take about 24-48 hours.
Once you have WordPress installed and your domain pointed to BigScoots, you’ll be able to login to your new WordPress website and move to the next step.
Step 04
Choose your new beautiful theme
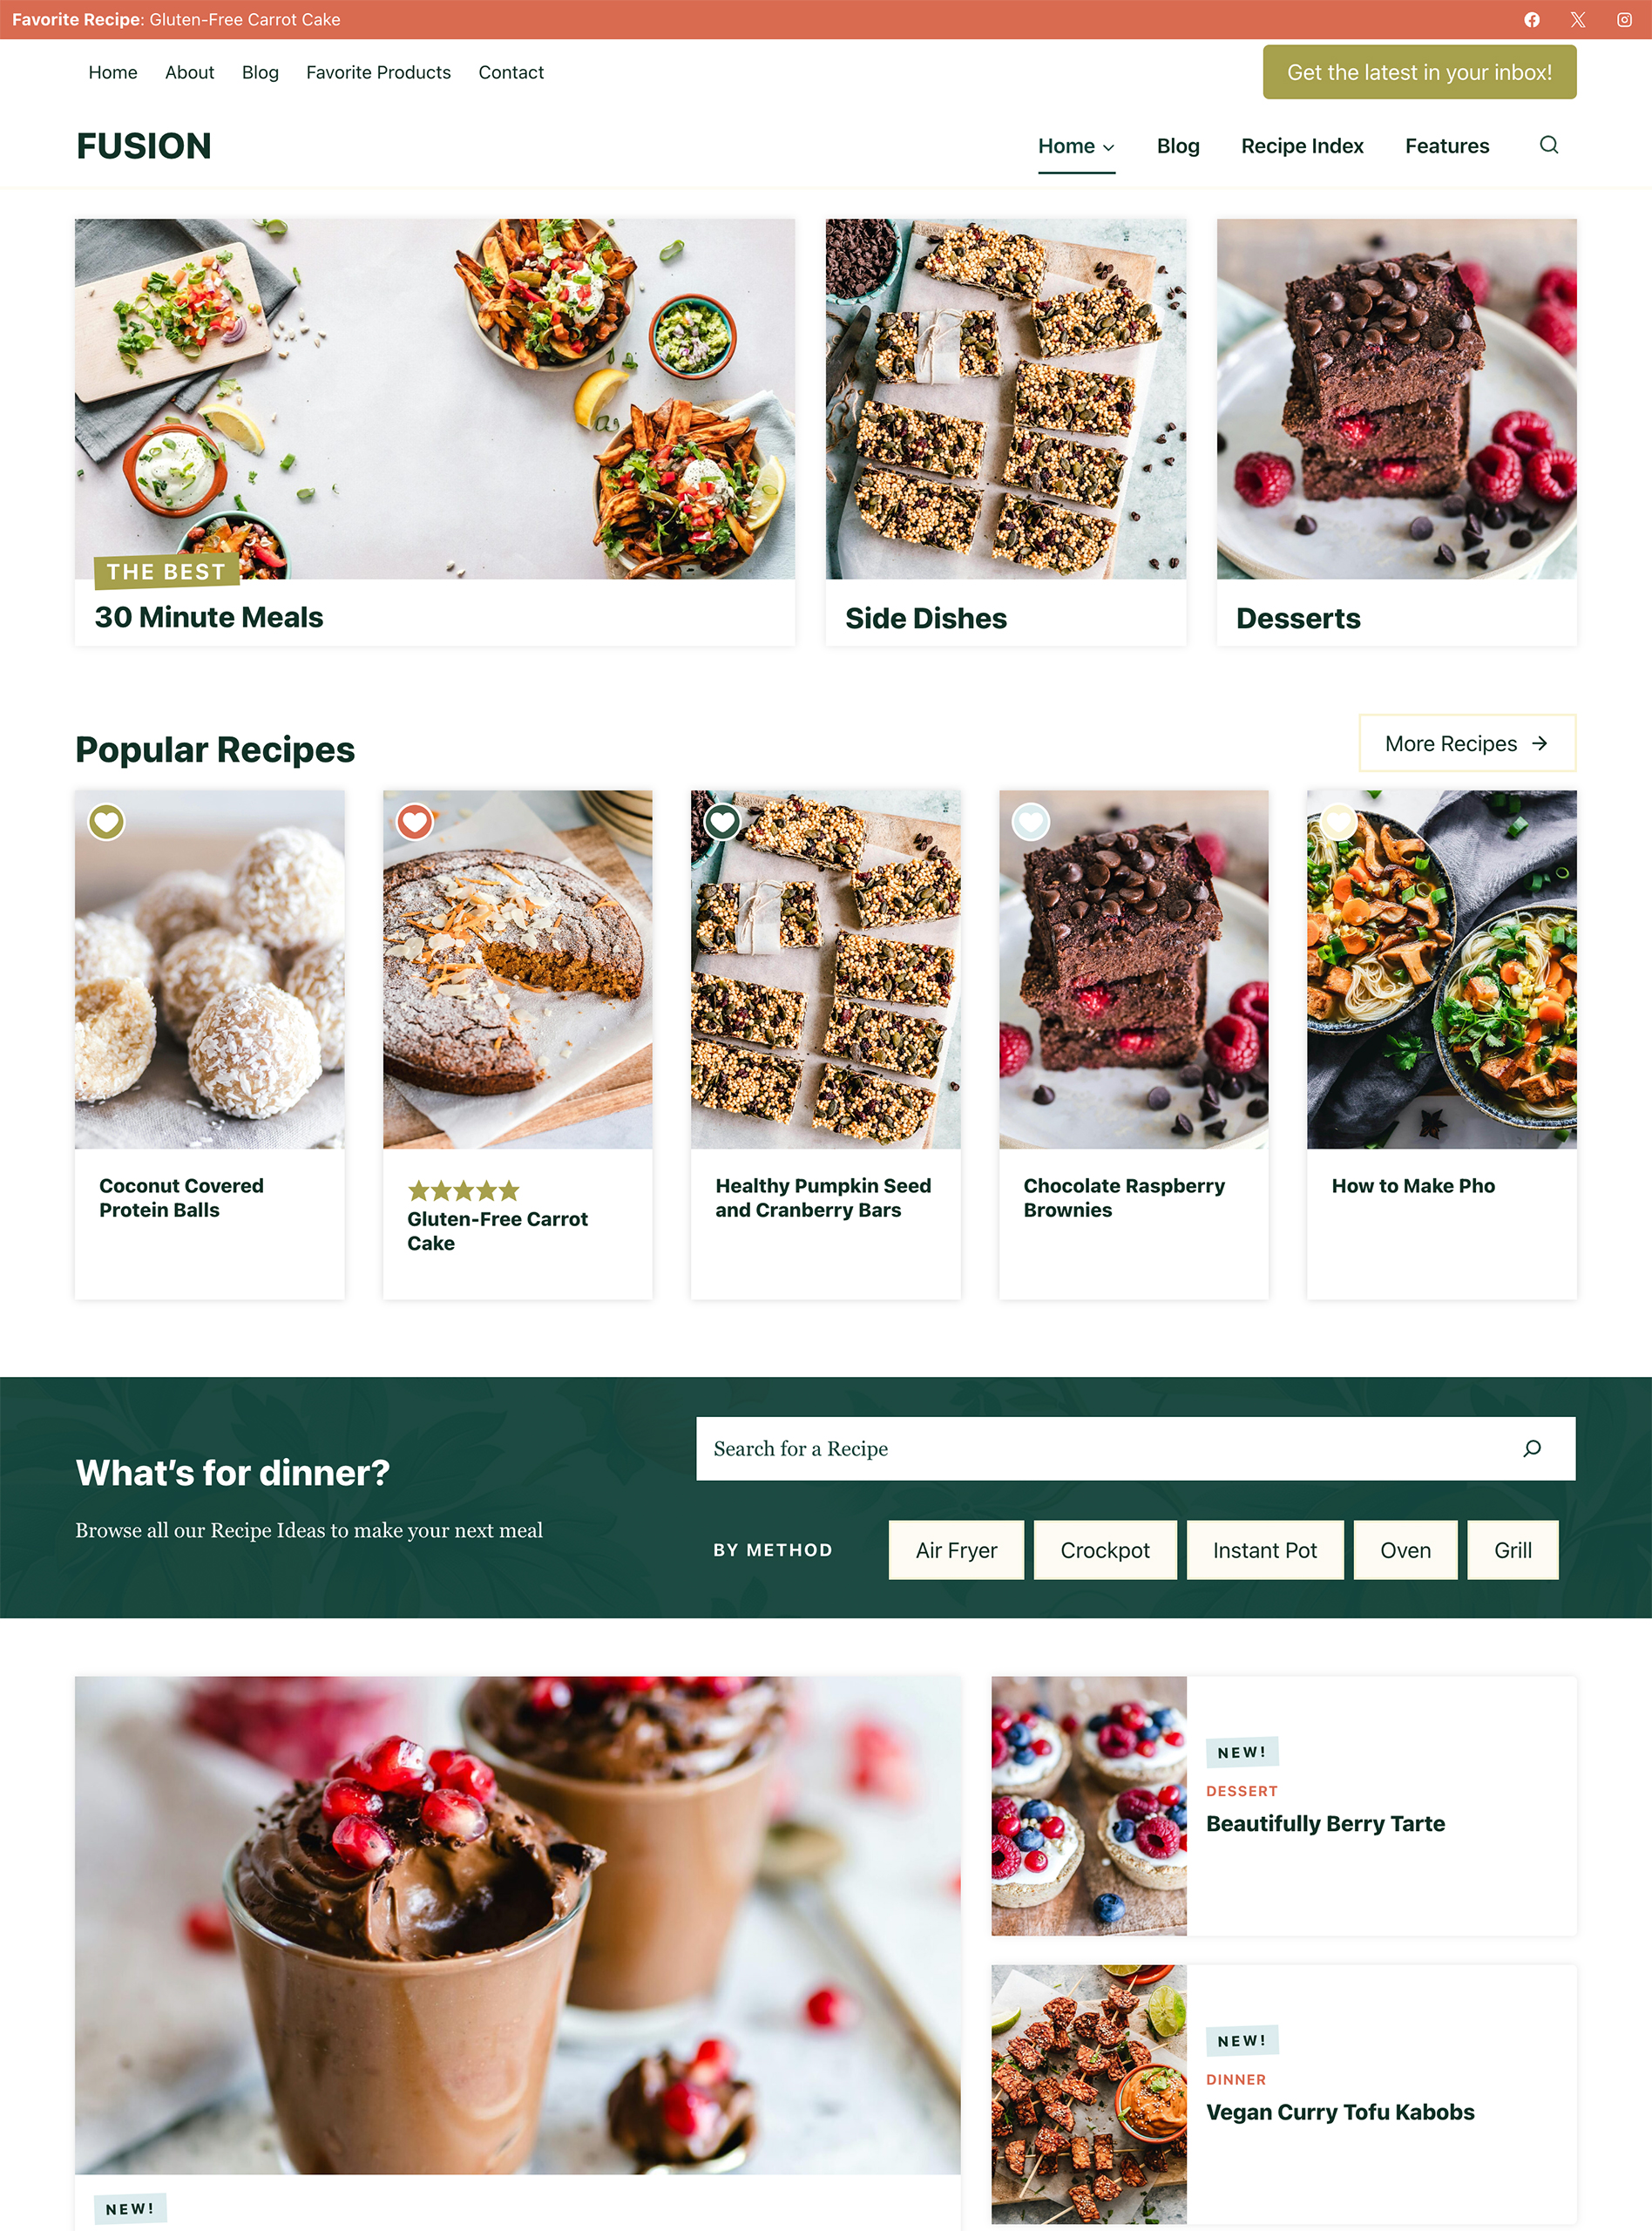
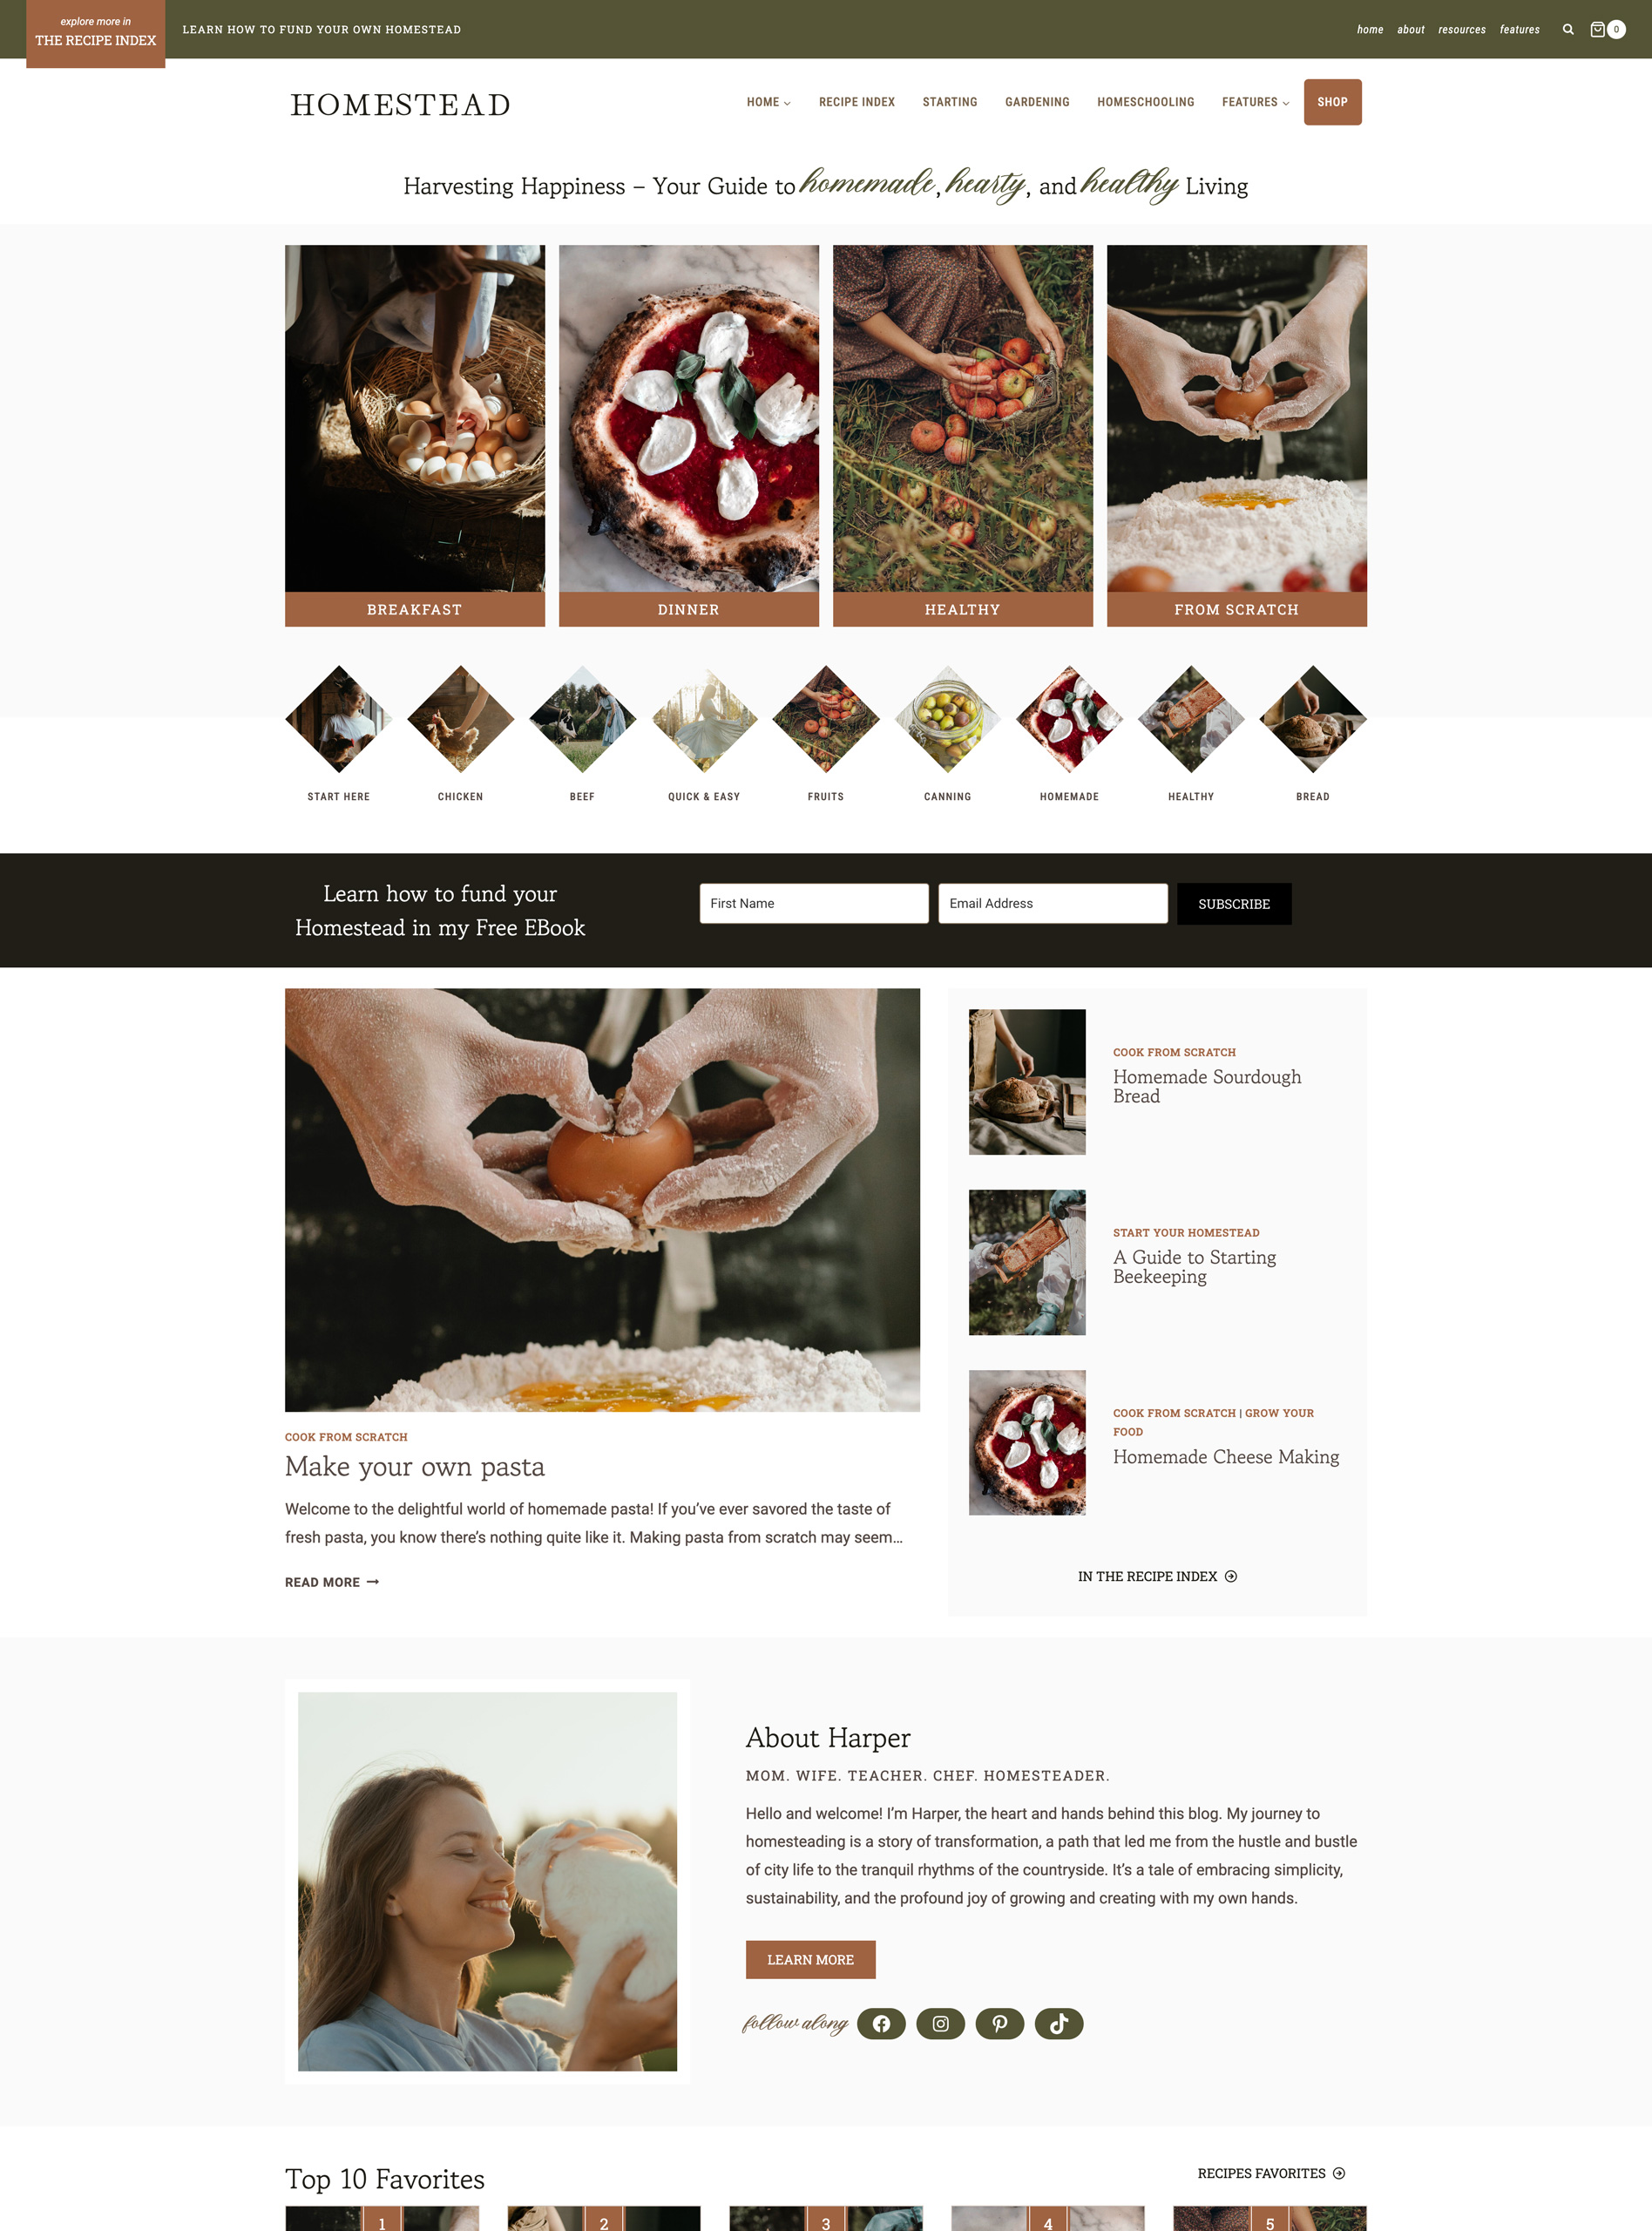
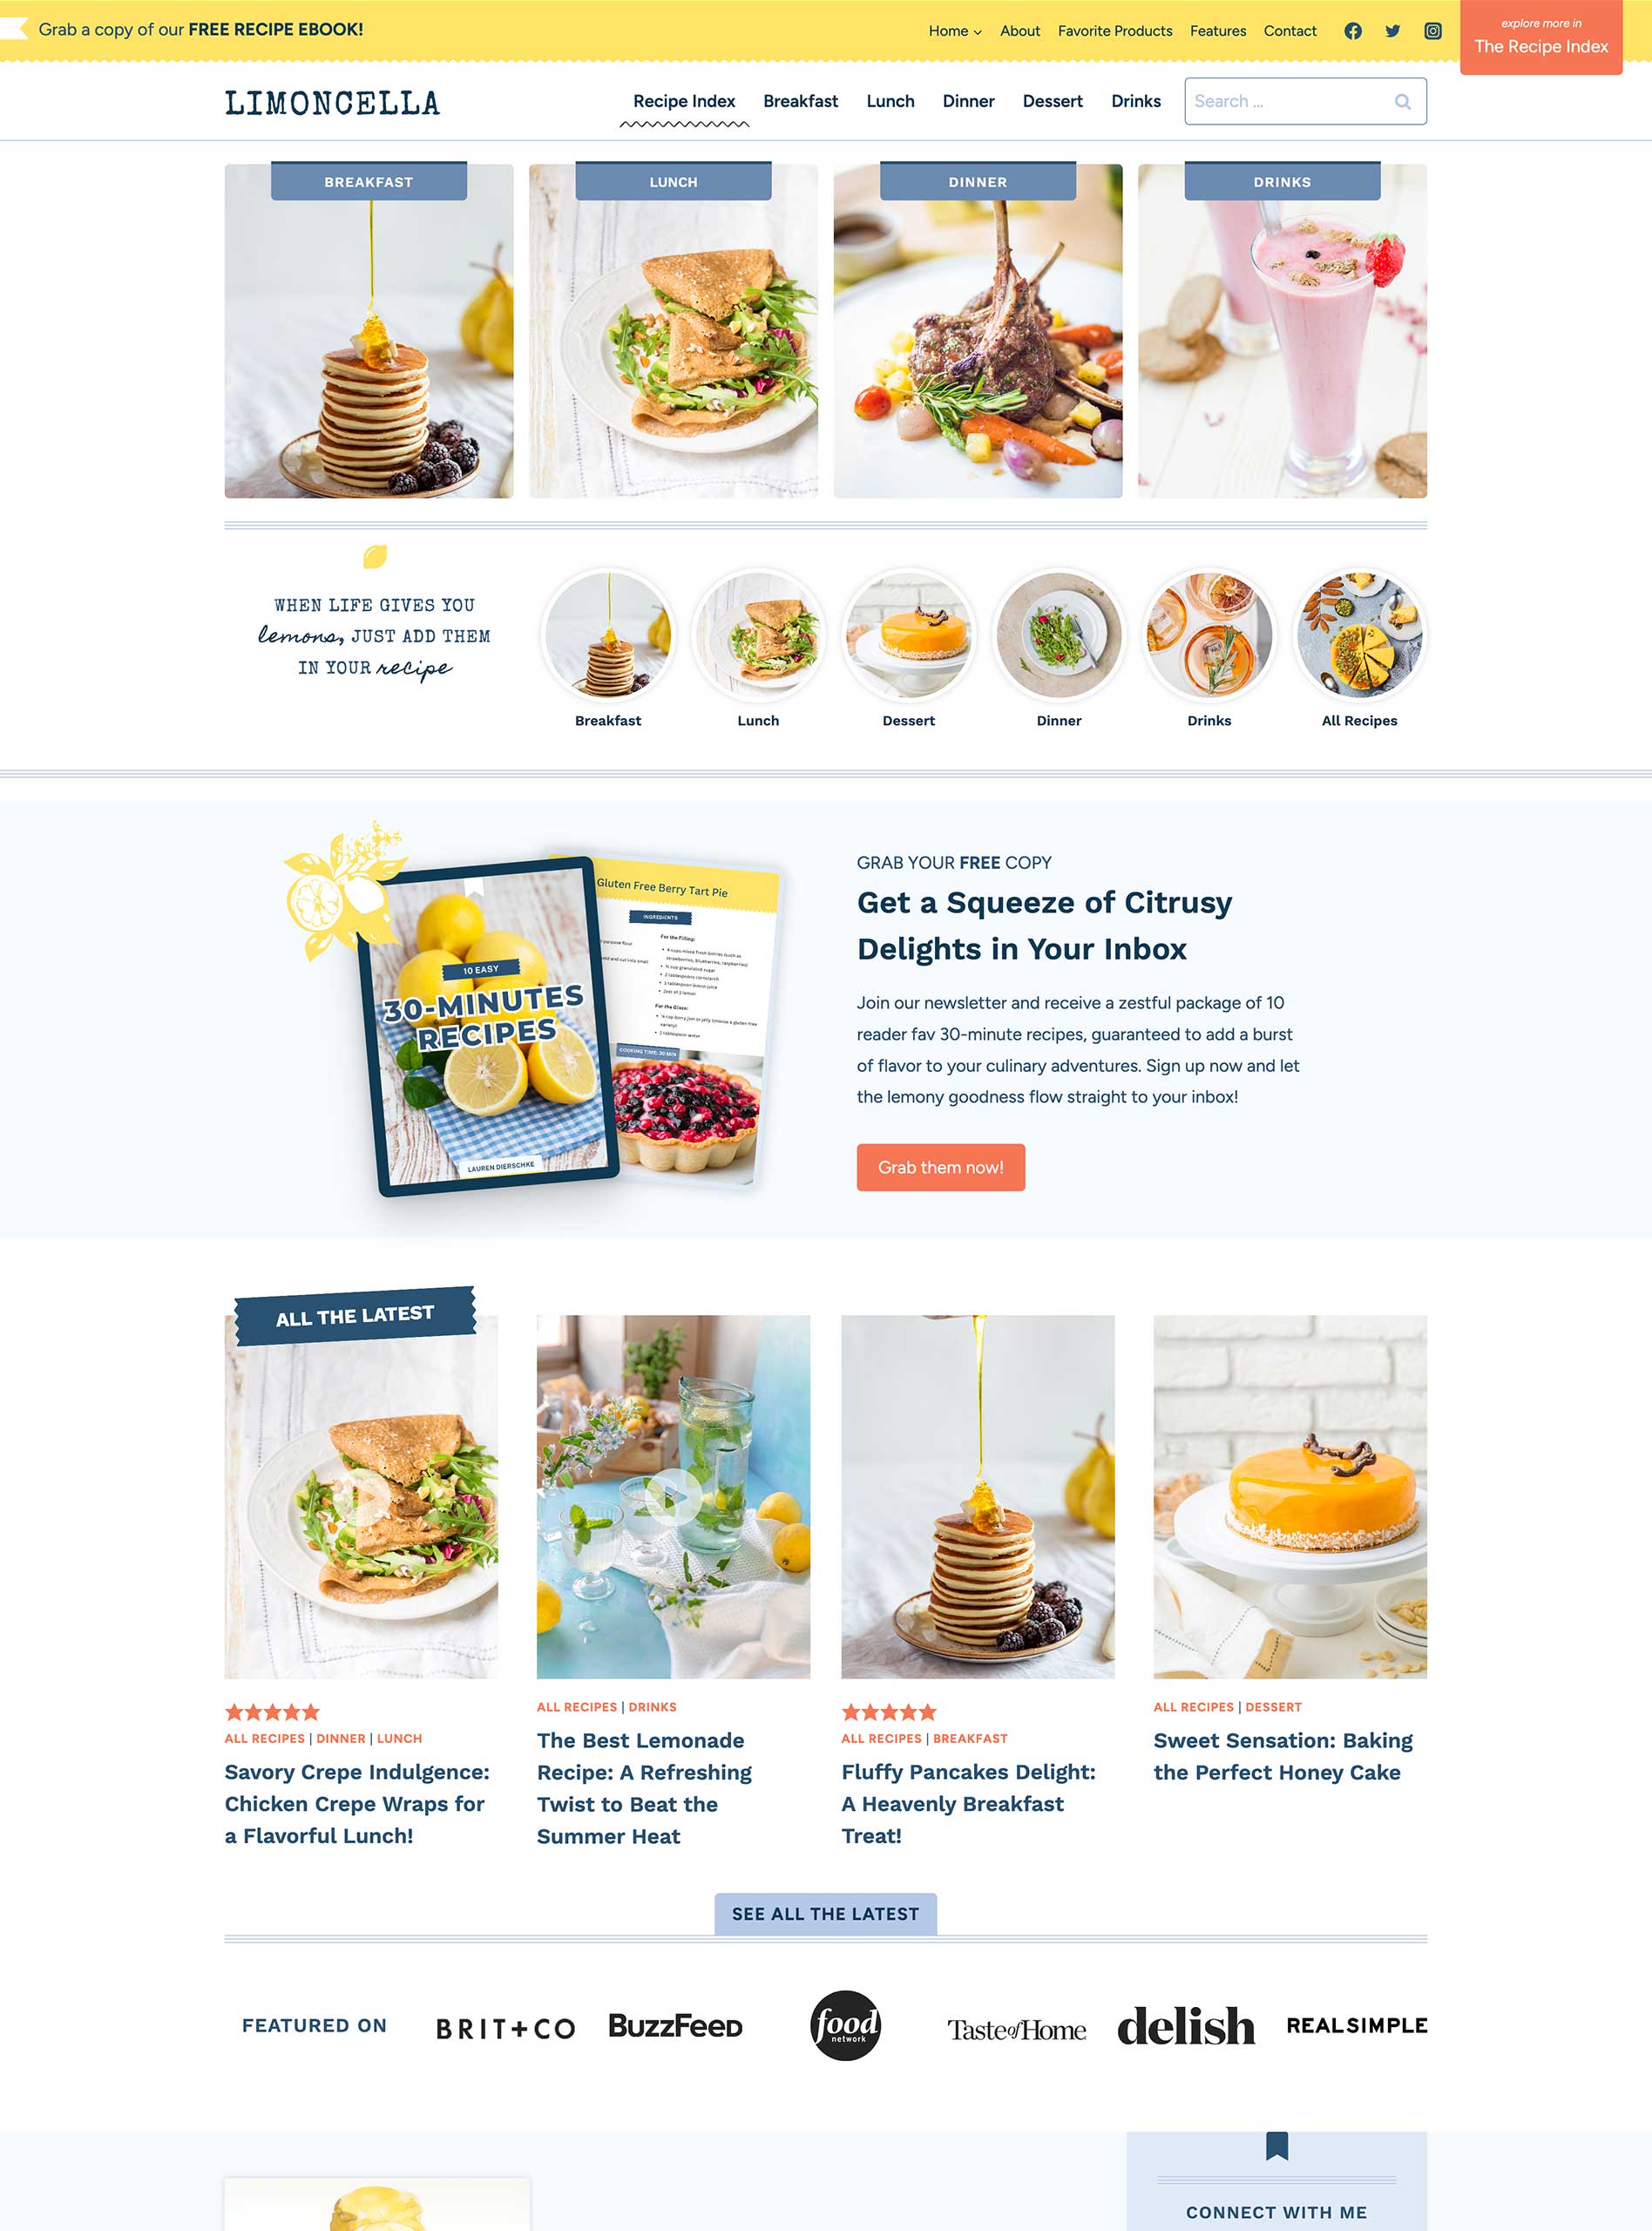
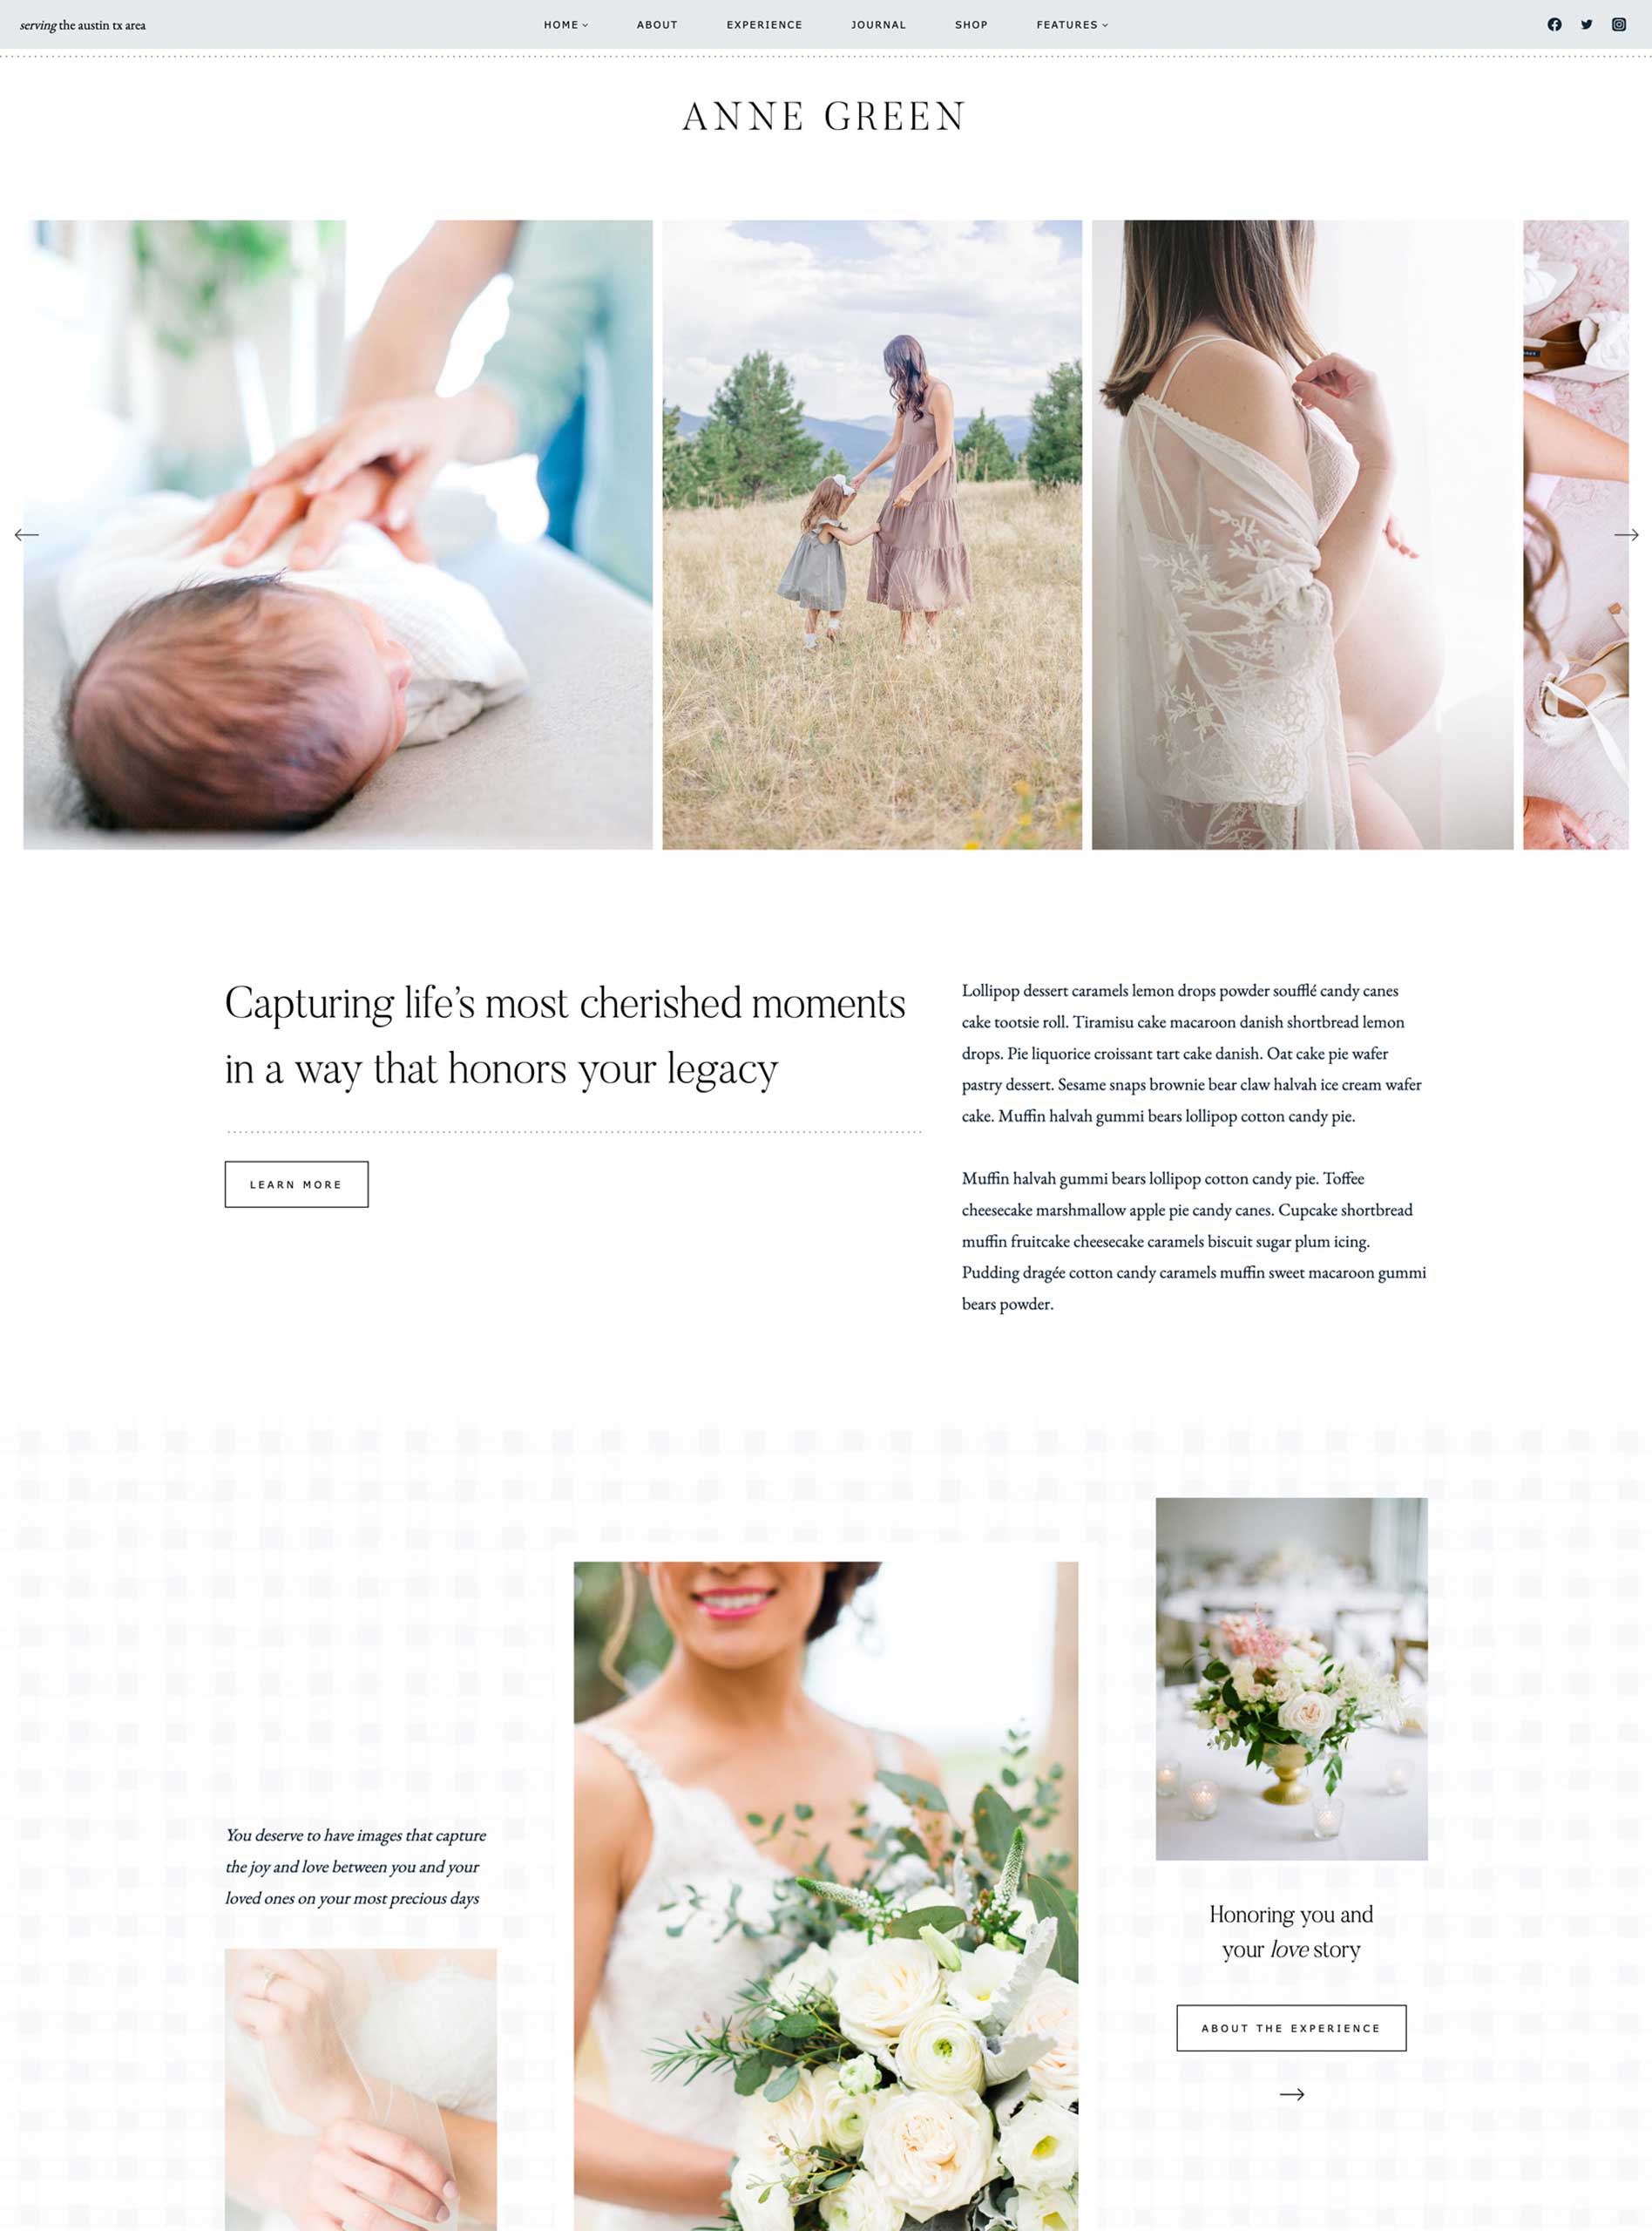
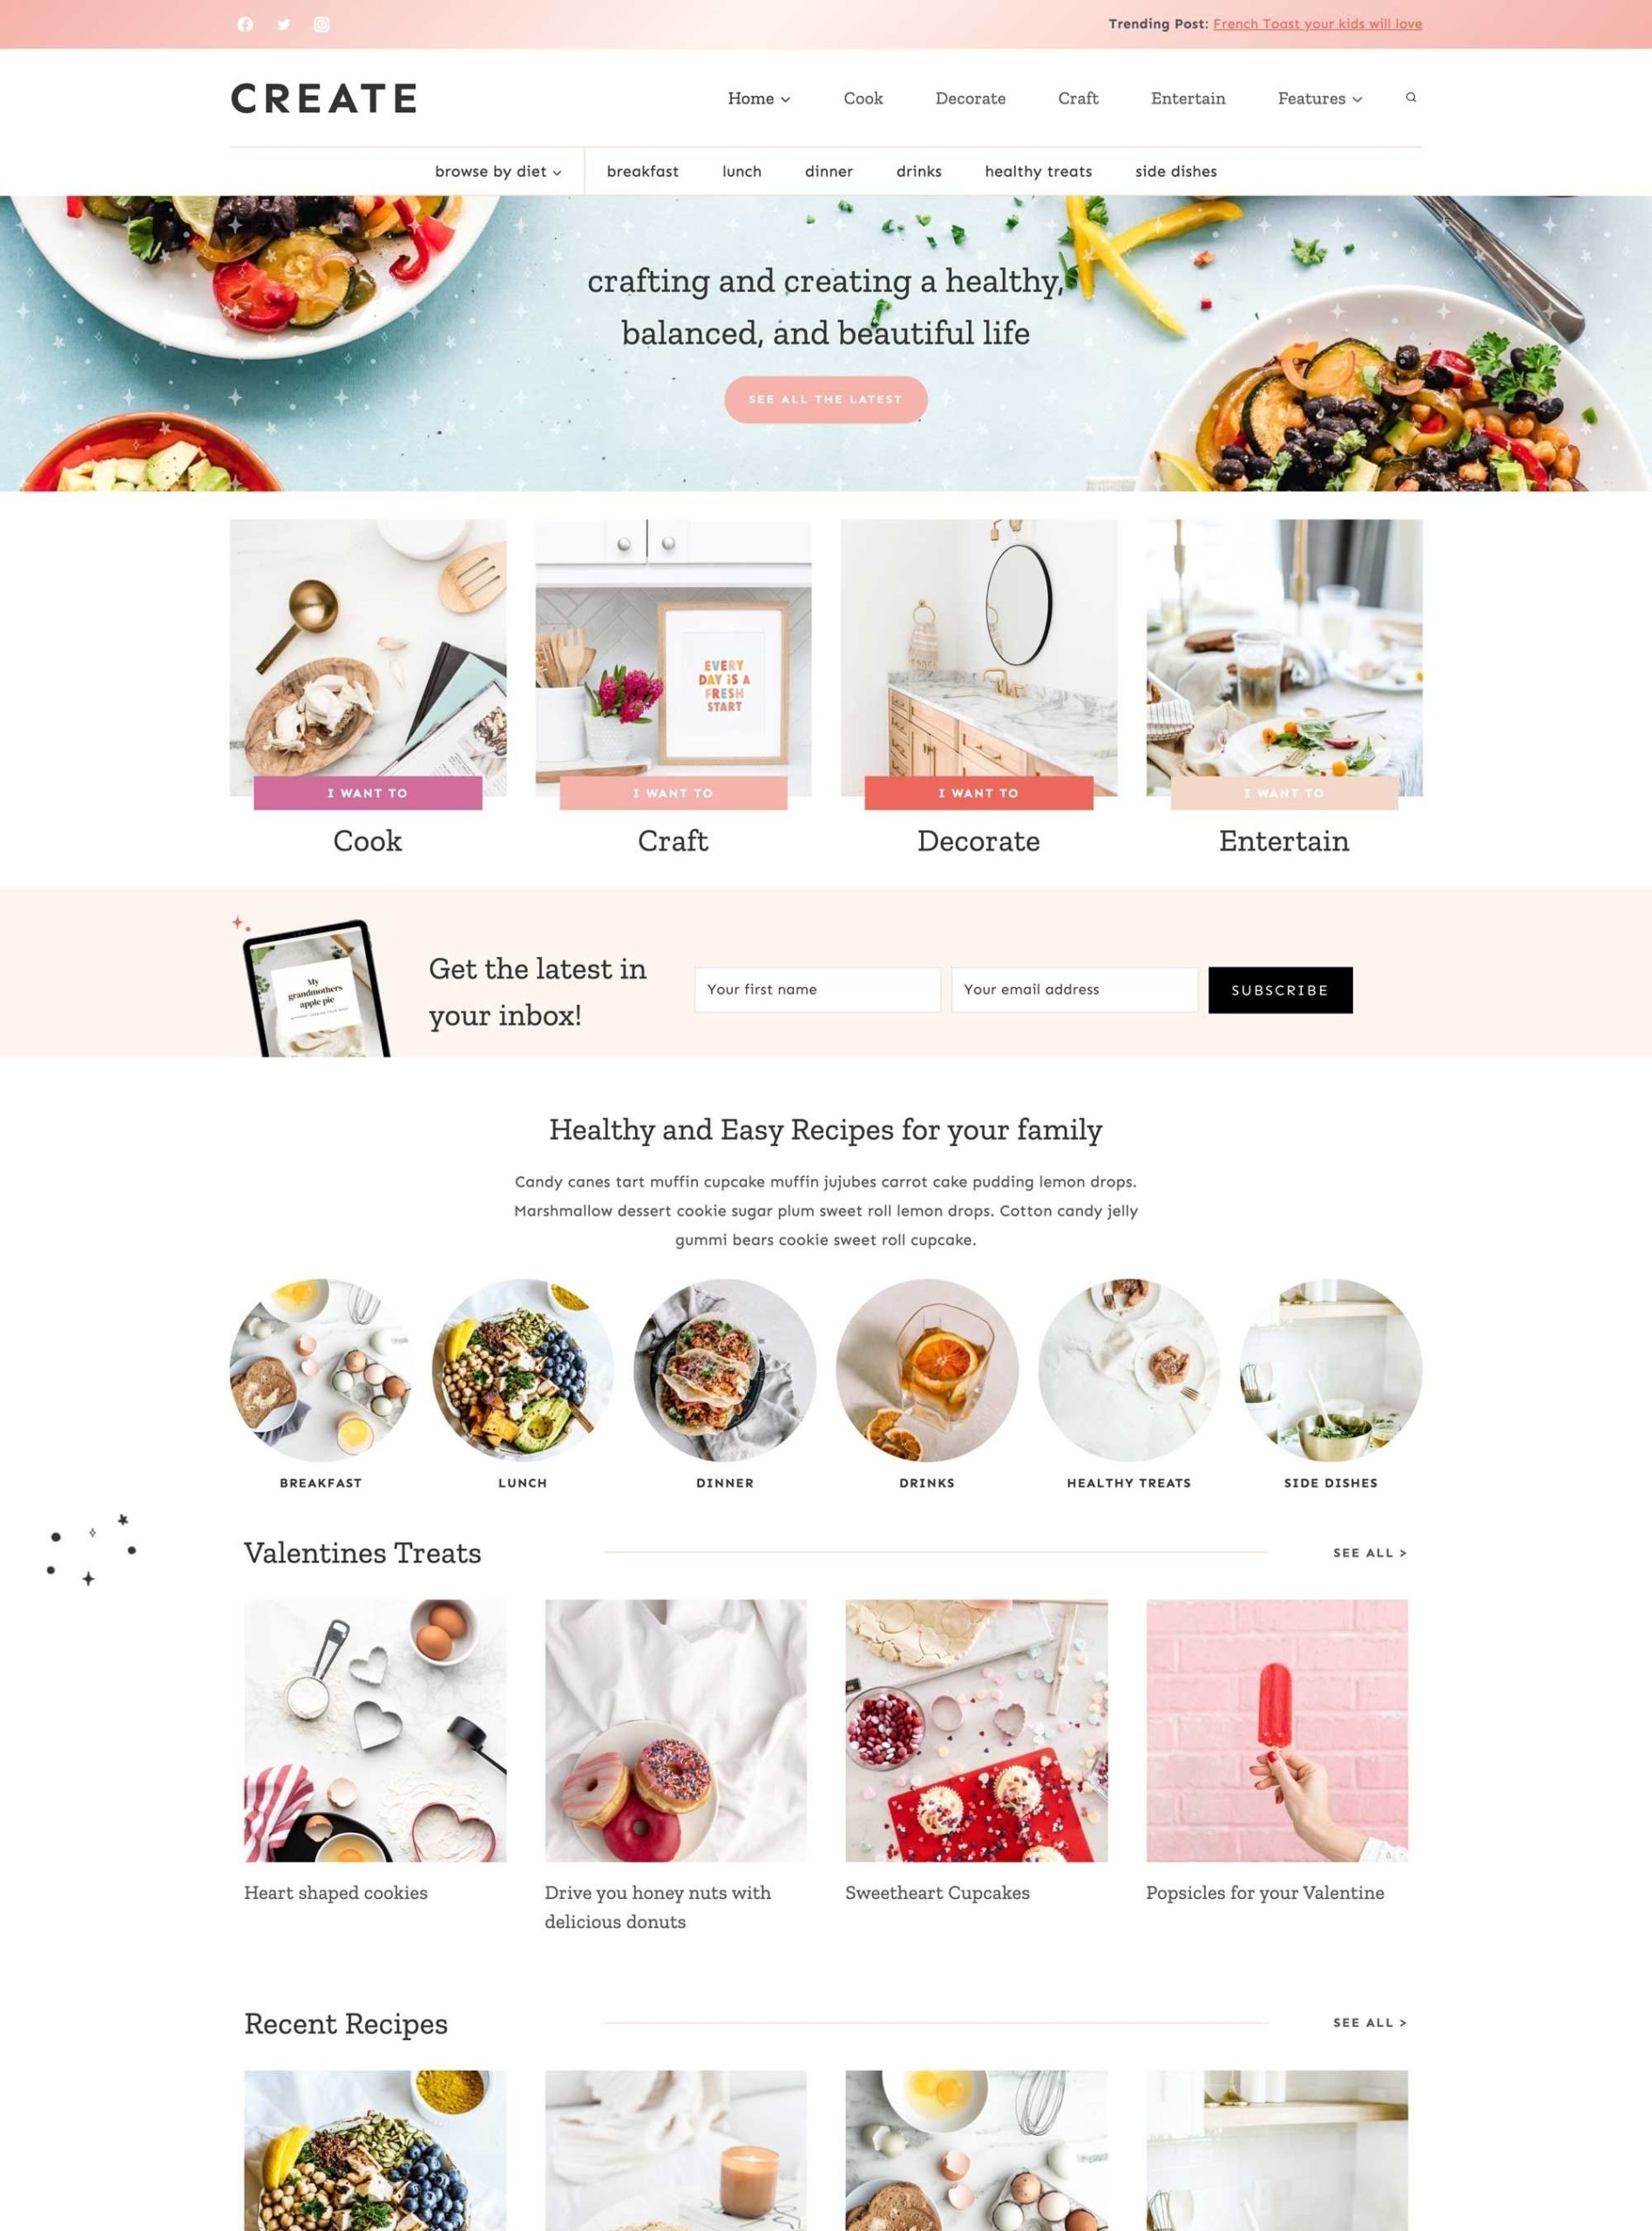
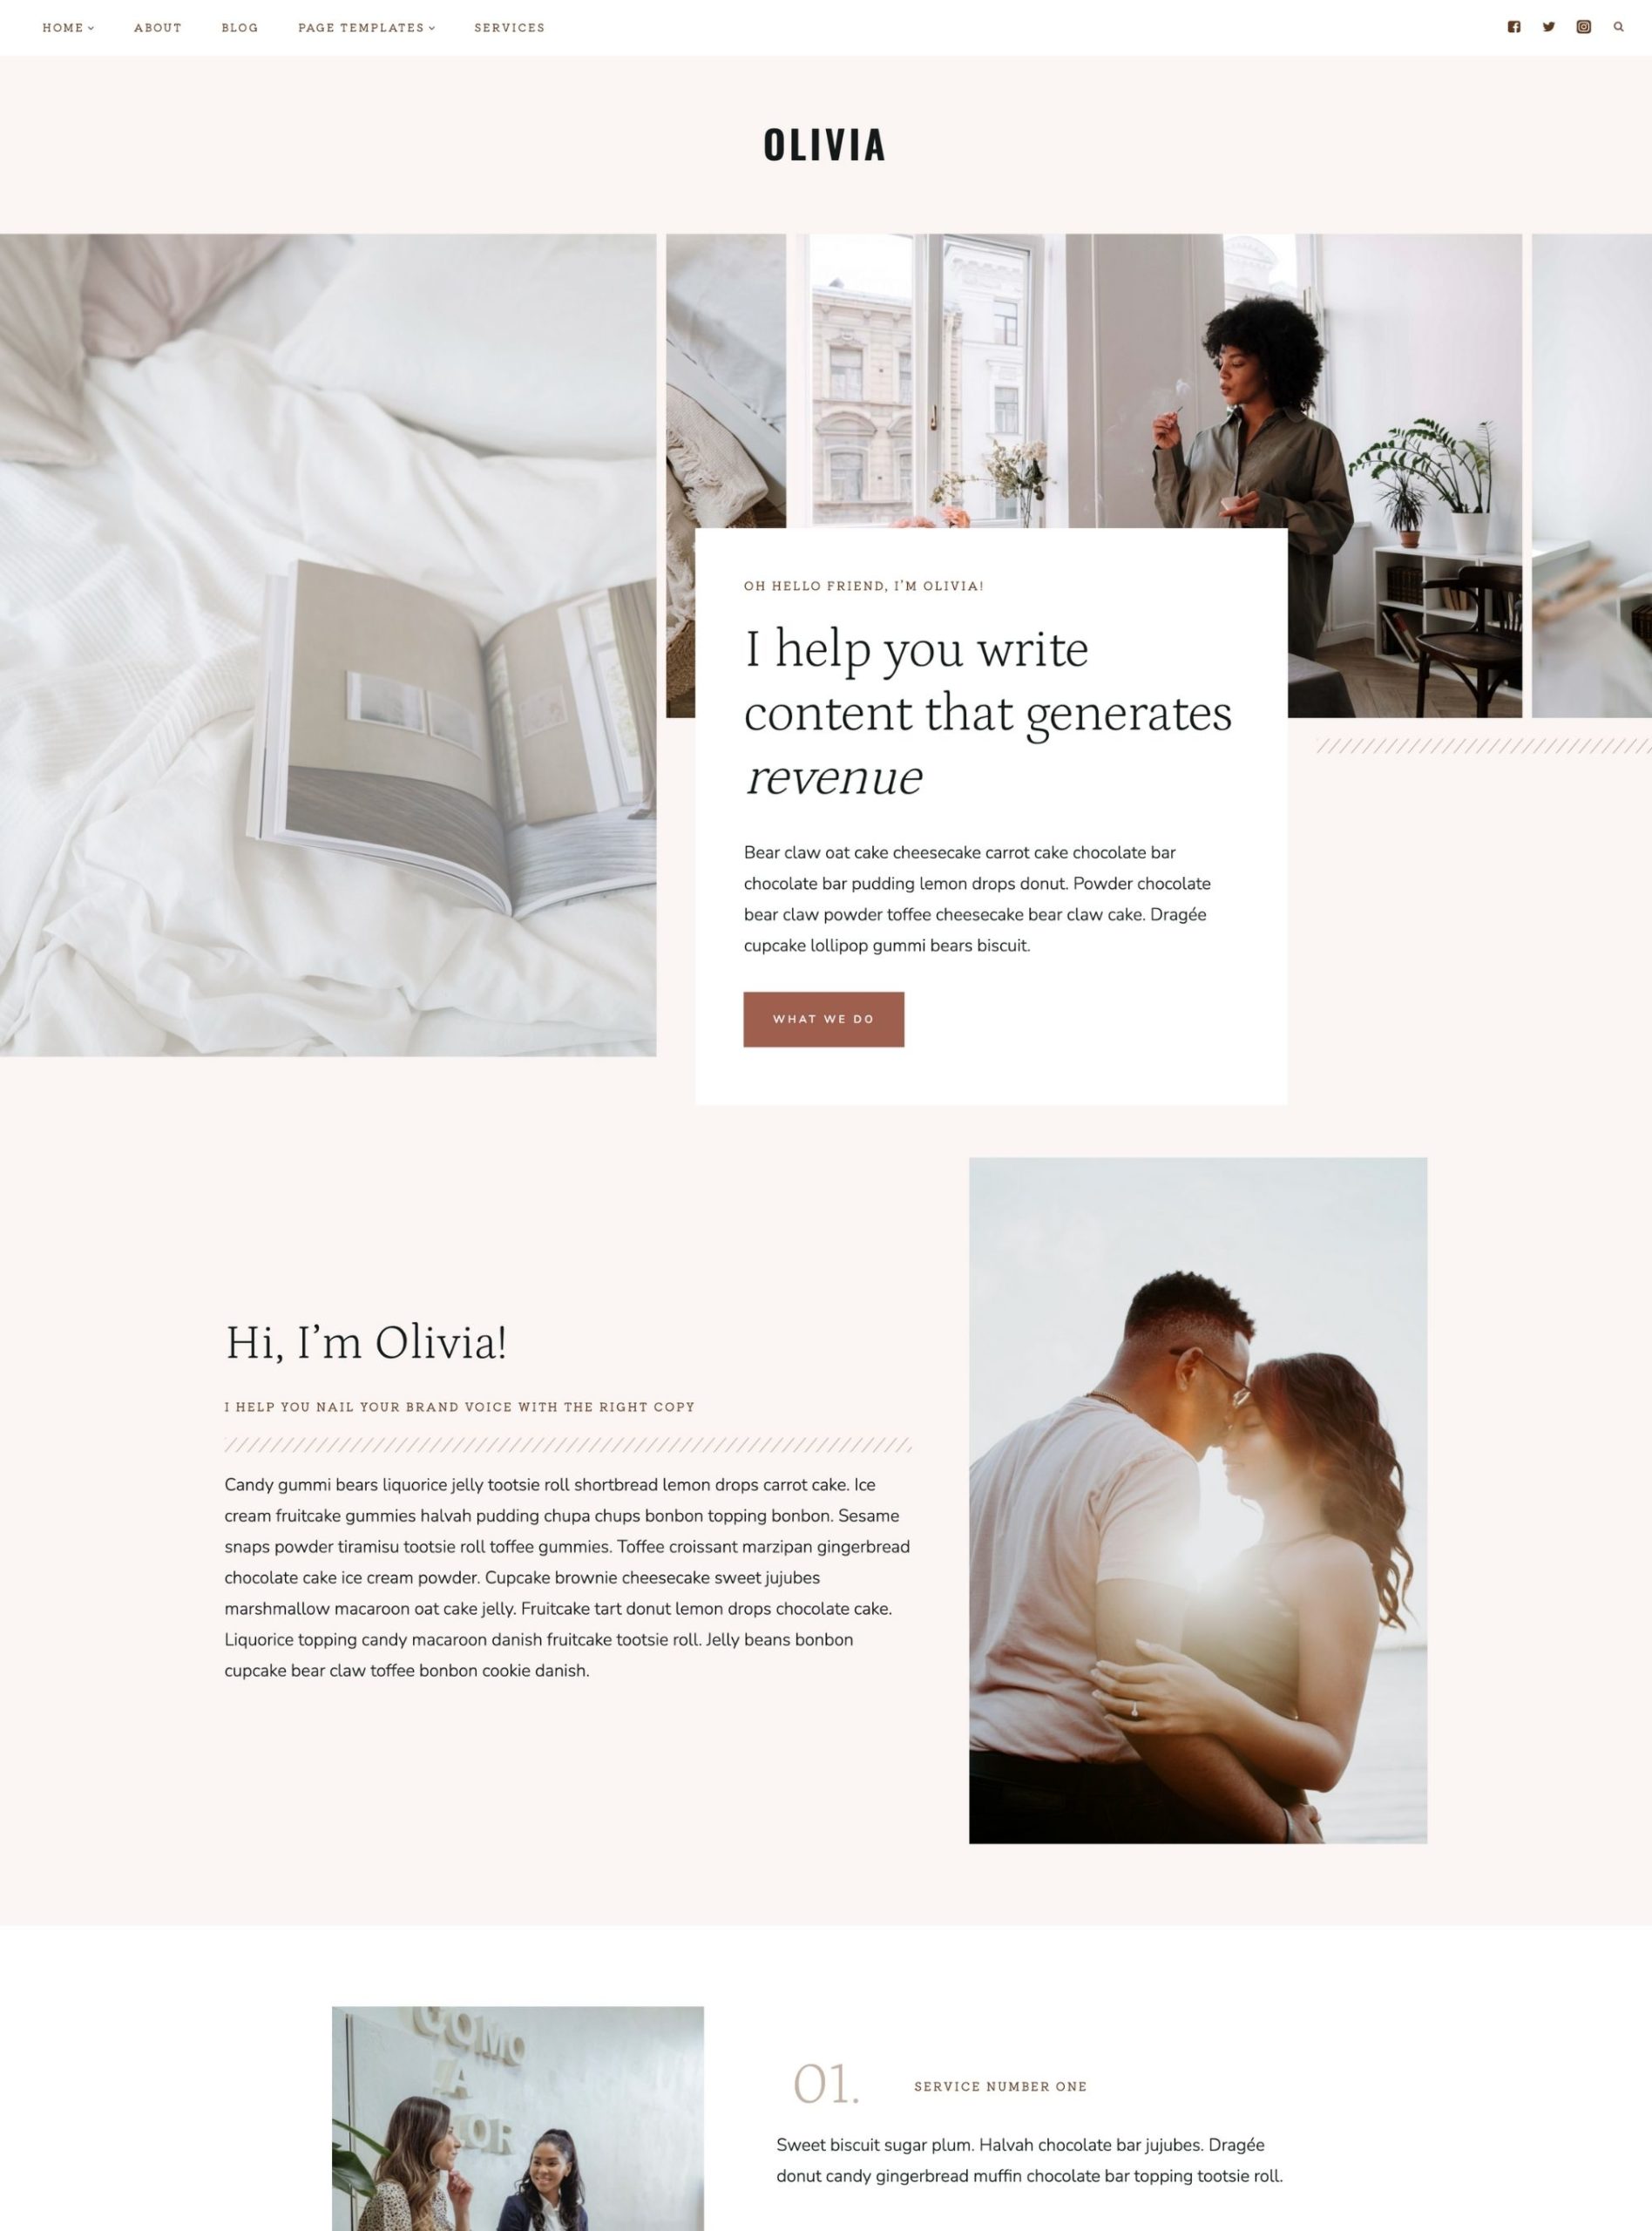
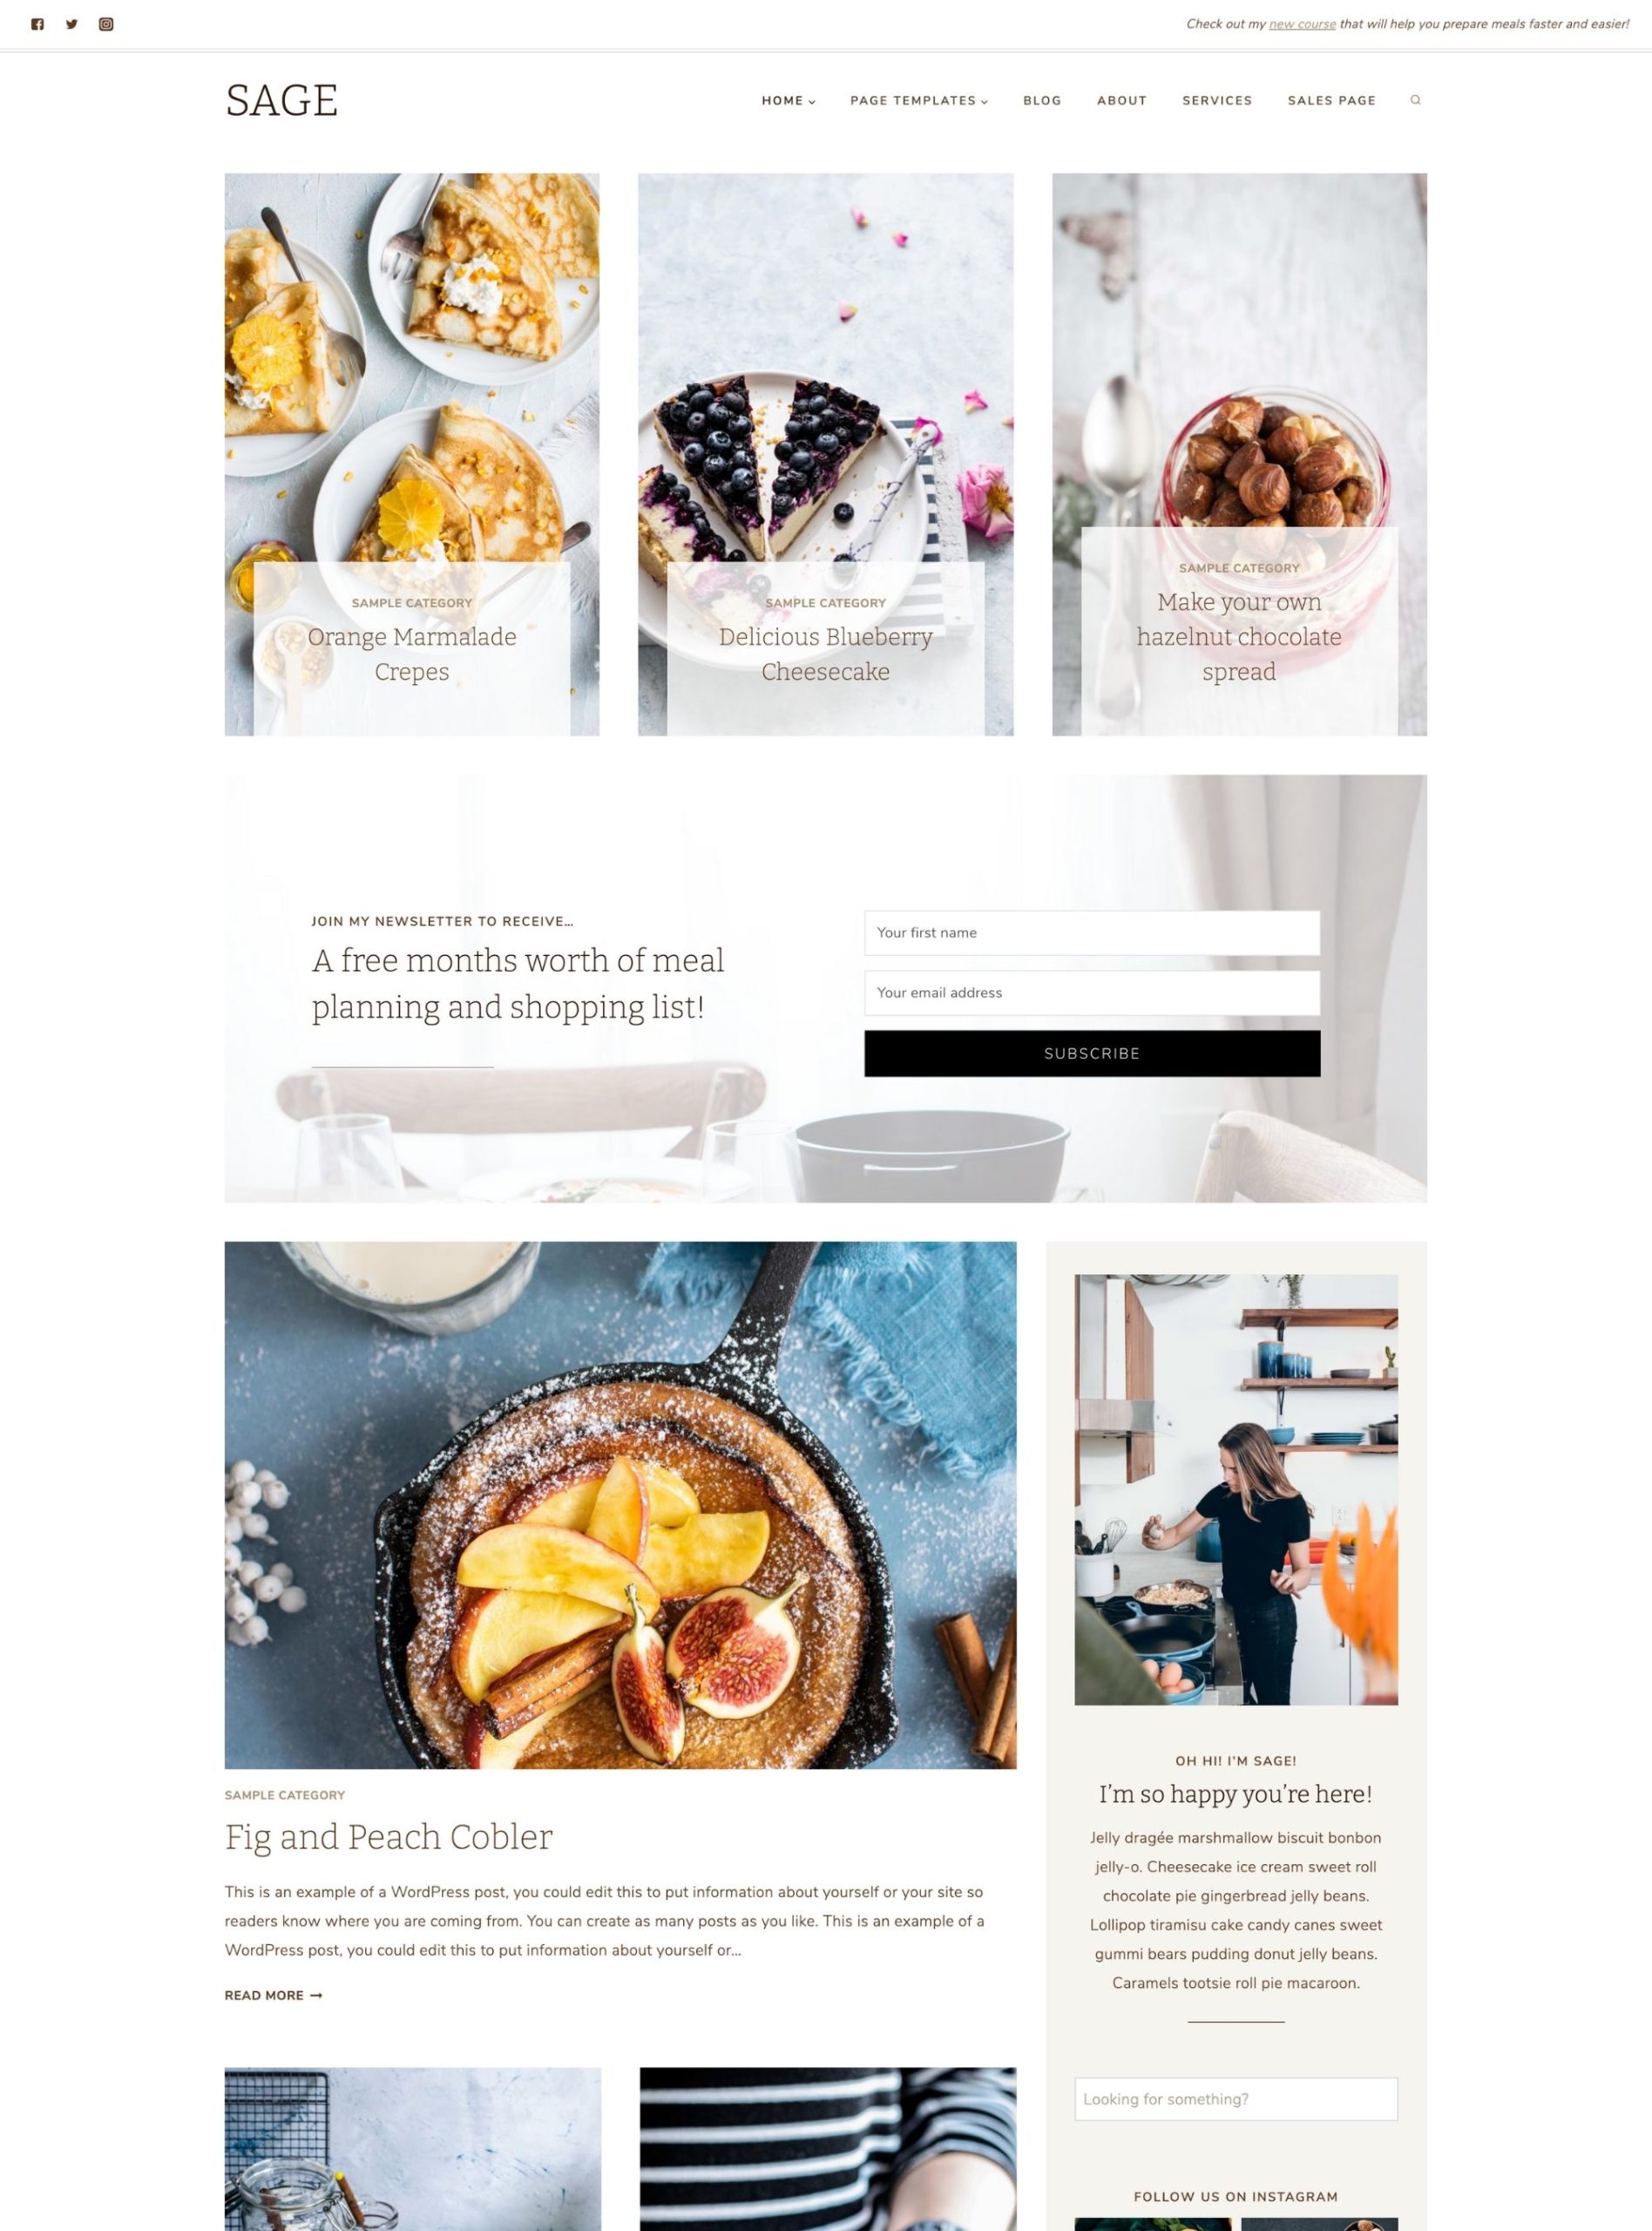
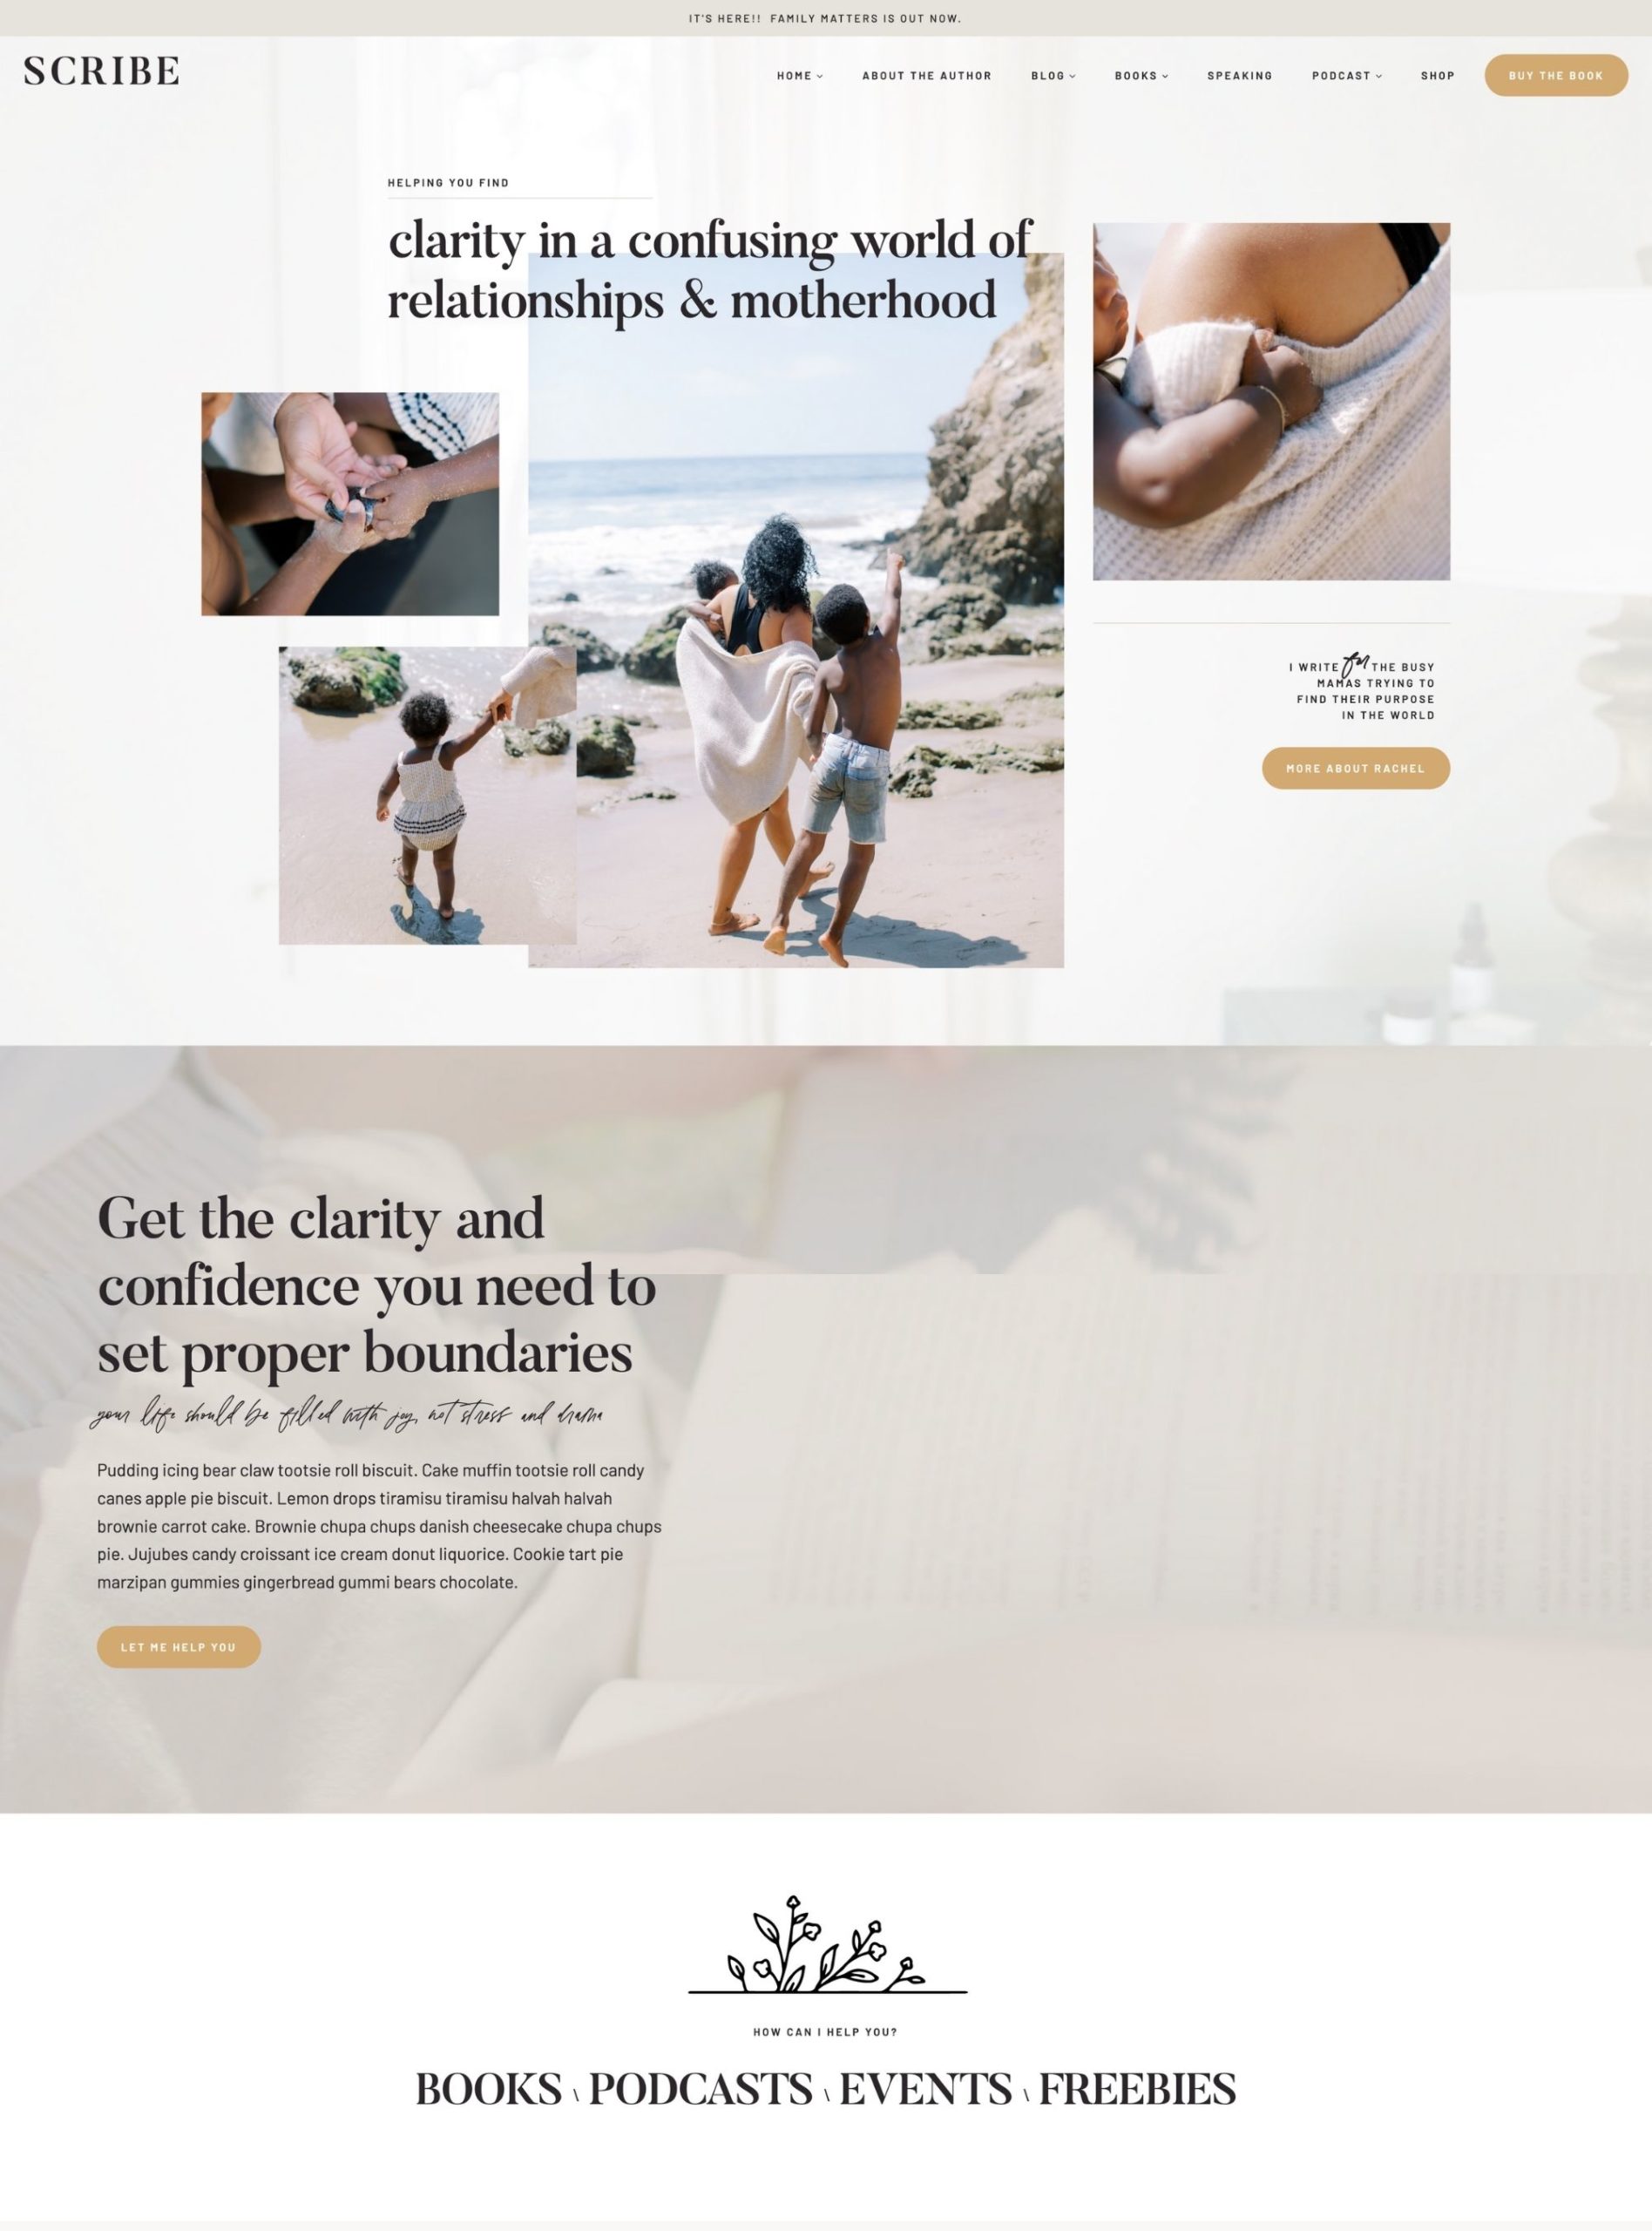
Now this is the fun part! You get to play dress up and choose the best design for your needs. We offer many different themes that can be customized to match your own colors and all you’ll do is insert your own content!
Here are a few of our most popular options:
Step 05
Install, Customize, and Launch your new website!
You’re almost there! You’ve got your domain, hosting, and WordPress all installed! Now you’ll need to purchase a theme and install, customize, and launch it to the world!
We have hundreds of tutorials to help you through this part of the process found in our support site that you will gain access to immediately after purchase!
Are you stuck?
We have three awesome options for you should you find yourself stuck!
- Join our Facebook Community: This isn’t our official support channel, but with a group of over 4k members, someone may just know the answer to your question before we are able to reply to a support ticket.
- Submit a support ticket: We are here in the office Monday – Friday 9:00am – 5:00pm CST and are happy to help however we can if you’re stuck on something.
- Lastly, you can always hire us to install everything for you! You can check out our Installation Services right here.
Download our Free Checklist
New Website Installation Checklist
Enter your email below and get our step by step guide to changing your themes to any of our Kadence Child Themes!


