How to create a coming soon page with Kadence Blocks
When you’re working on changing your theme over to a new one, you may want to have a simple coming soon page up for people landing on your site as you get everything done! Typically, you’d install a Coming Soon plugin and set that up to display a page, but you can actually do this right inside of a new page with Kadence Blocks! No need for any extra plugins!
Today I’m going to take you step by step through creating a simple Coming Soon Page that you’ll have done in less than 5 minutes!
Work better with video instructions?
1. Create your New Page
First, navigate to Pages > Add New and give your new page a name of Coming Soon or something similar.
In the top right corner of the page, you’ll click the little icon to the left of the K icon. This will allow you to change some settings that will only affect this page. You’ll want all the settings here to match the screenshot below, paying careful attention to disabling your header and footer at the bottom of this list.

2. Add your Row layout
Use the black + button and search for a Row layout. You’ll choose the single column option from the layout options that pop up.

Let’s set up our Row with a couple of settings
With your Row Layout selected, you’ll see a bar of options above the row. Select the first black icon and select Full Width from the drop down.
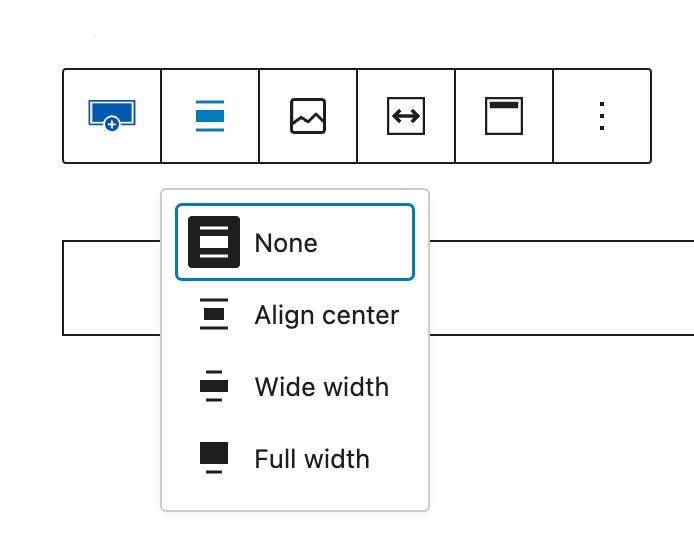
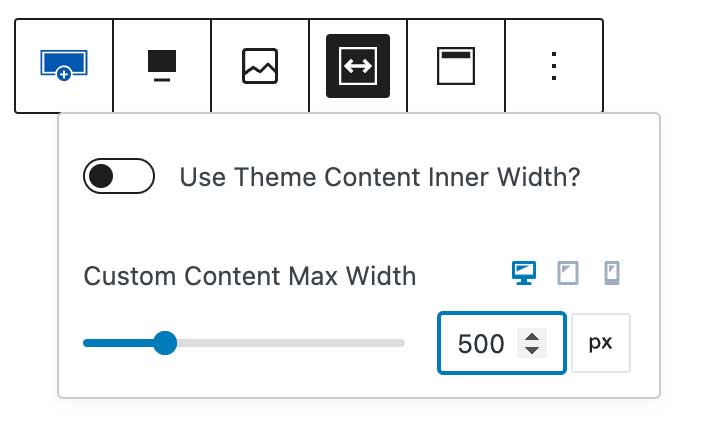
Next, click on the box icon with the arrow inside of it, and we will adjust the width of the content inside of our Full Width row. I put 500px here at first but decided to go a bit bigger to 600px, but feel free to put a larger or smaller number depending on your own content.
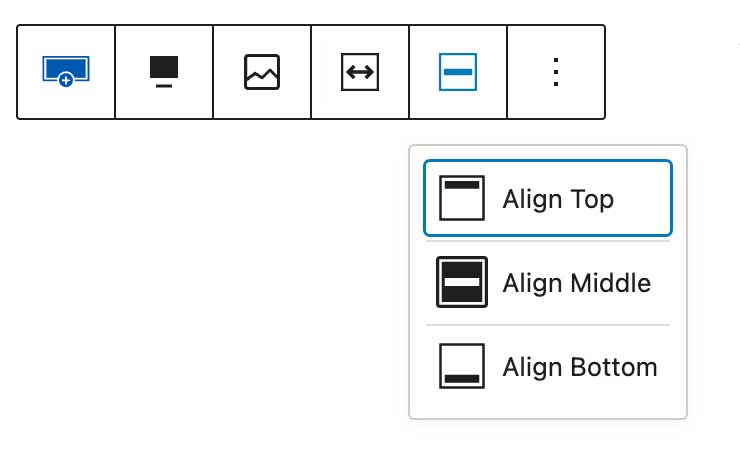
Next Click on the box icon with the line inside of it and you’ll select Align Middle. This will make sure that all the content inside our row is centered horizontally.
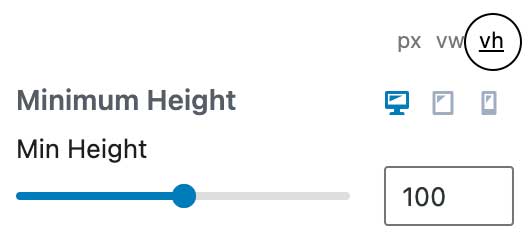
With your Row Layout still selected, you’ll choose Structure Settings on the right side of your screen. Under here, choose the VH setting directly above Minimum Height and insert 100 in the number field. VH means “viewport height” so this row you just created will take up 100% of the height of the screen your reader is on, no matter the size of their display.
I’d also like to add a background color on my row so the entire screen isn’t white. With my row still selected, I’ll select Background Settings and choose a color under Background Color. You can choose any color here, or choose to upload an image! You can really customize things here to make your Coming Soon page beautiful!
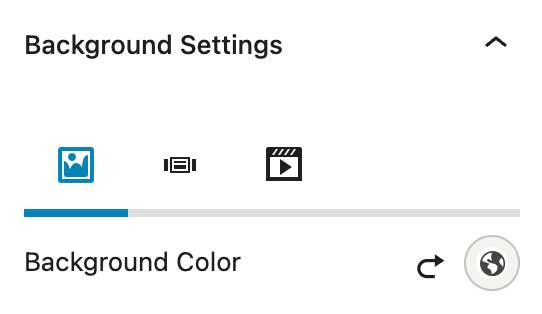
Now, I want the middle of the screen with my content inside of it to be white. This will be helpful if you uploaded an image in the last step so that your logo and text in the middle don’t get lost on the page.
In the top left corner you’ll see an icon with 3 lines in it. This is your List View, so you can see all the blocks you currently have on the page. If you open this up now, you’ll see that you have a Row Layout, and inside of that is a section (or column). Select the Section and our options on the right will change so we can adjust our background color and add some padding.
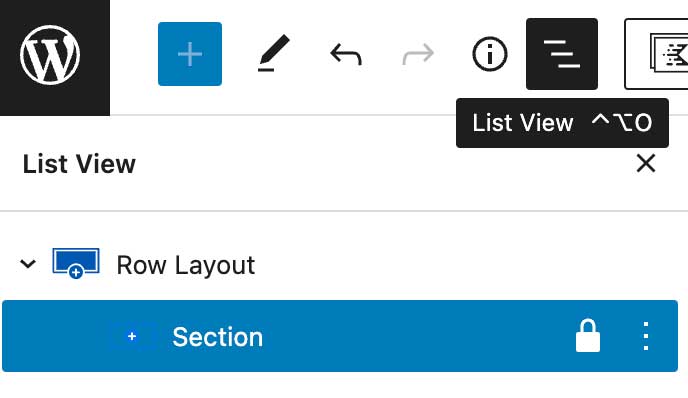
With the Section now selected, choose Background Settings on the right side of your screen. Click the little bubble next to Background Color and choose white from the available colors.
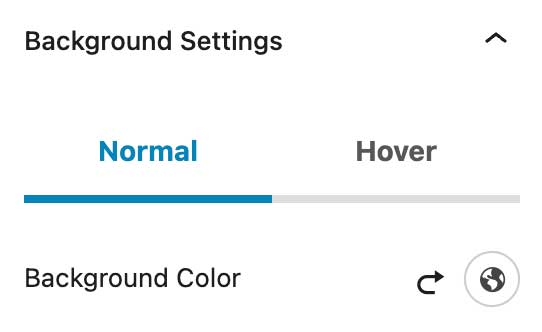
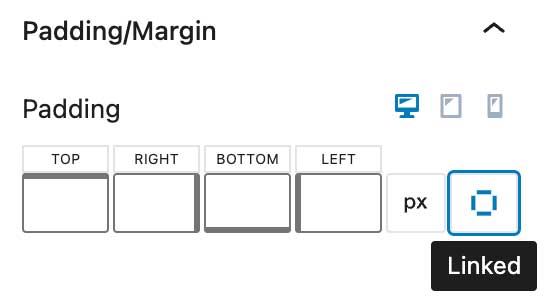
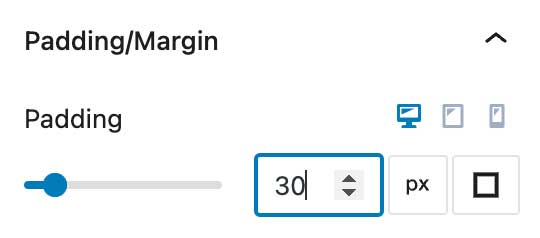
Now we want to add a little padding inside of this white block so the content we place inside isn’t touching all the edges. On the right side of the screen, choose the Padding/Margin option. Click on the little linked icon on the right side here. This will allow us to enter one number and it will have equal padding on all 4 sides of our box. Inside the box enter 30.
Add your content to the row
To keep my coming soon page simple, I’m only going to add our logo and a little text to let people know that our website is undergoing some updates and we will be right back!
Inside of the black border box in the middle of the page is a + sign. Click on this and search for Advanced Image. Select the image you’d like here from your Media Library and insert using the blue select button on the bottom right of the screen.
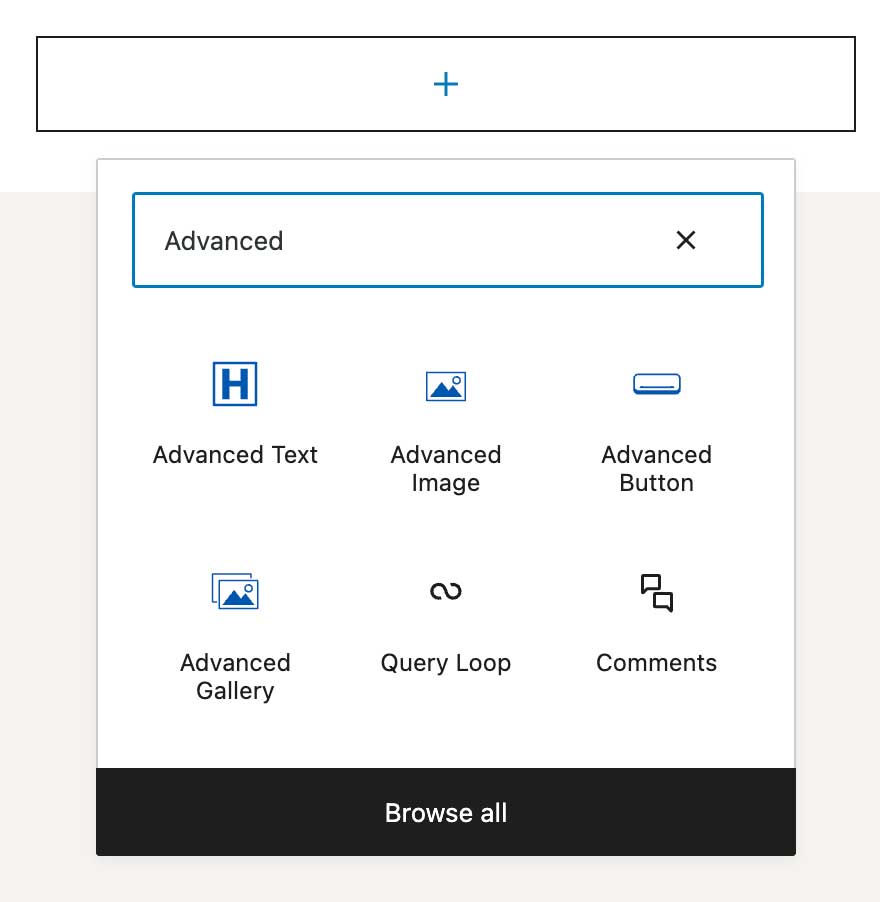
With your Advanced Image block still selected, you’ll see Max Image Width on the right. Insert a good width that will accommodate the side of your logo without it being too huge. I went with 300px for mine.

You don’t have to do this, but I like to disable the caption feature under the image that was inserted. You can do this under Caption Settings and toggle the “Show Caption” to off.

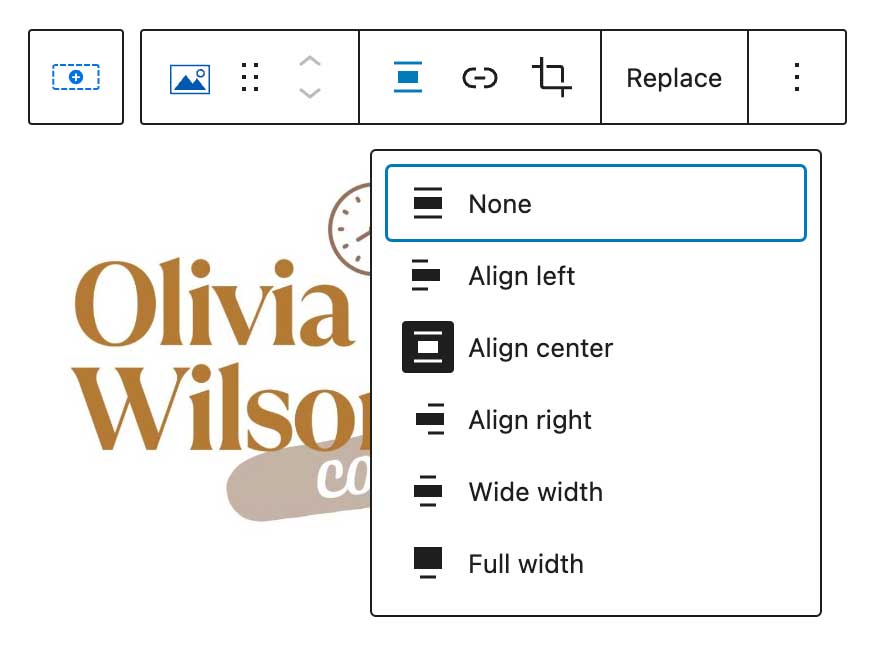
Lastly, we want to center our image in the middle of the white box. On the toolbar above the image you uploaded, you’ll click on the icon with the lines and a box in the middle. Then you’ll choose Align Center from the drop down menu.
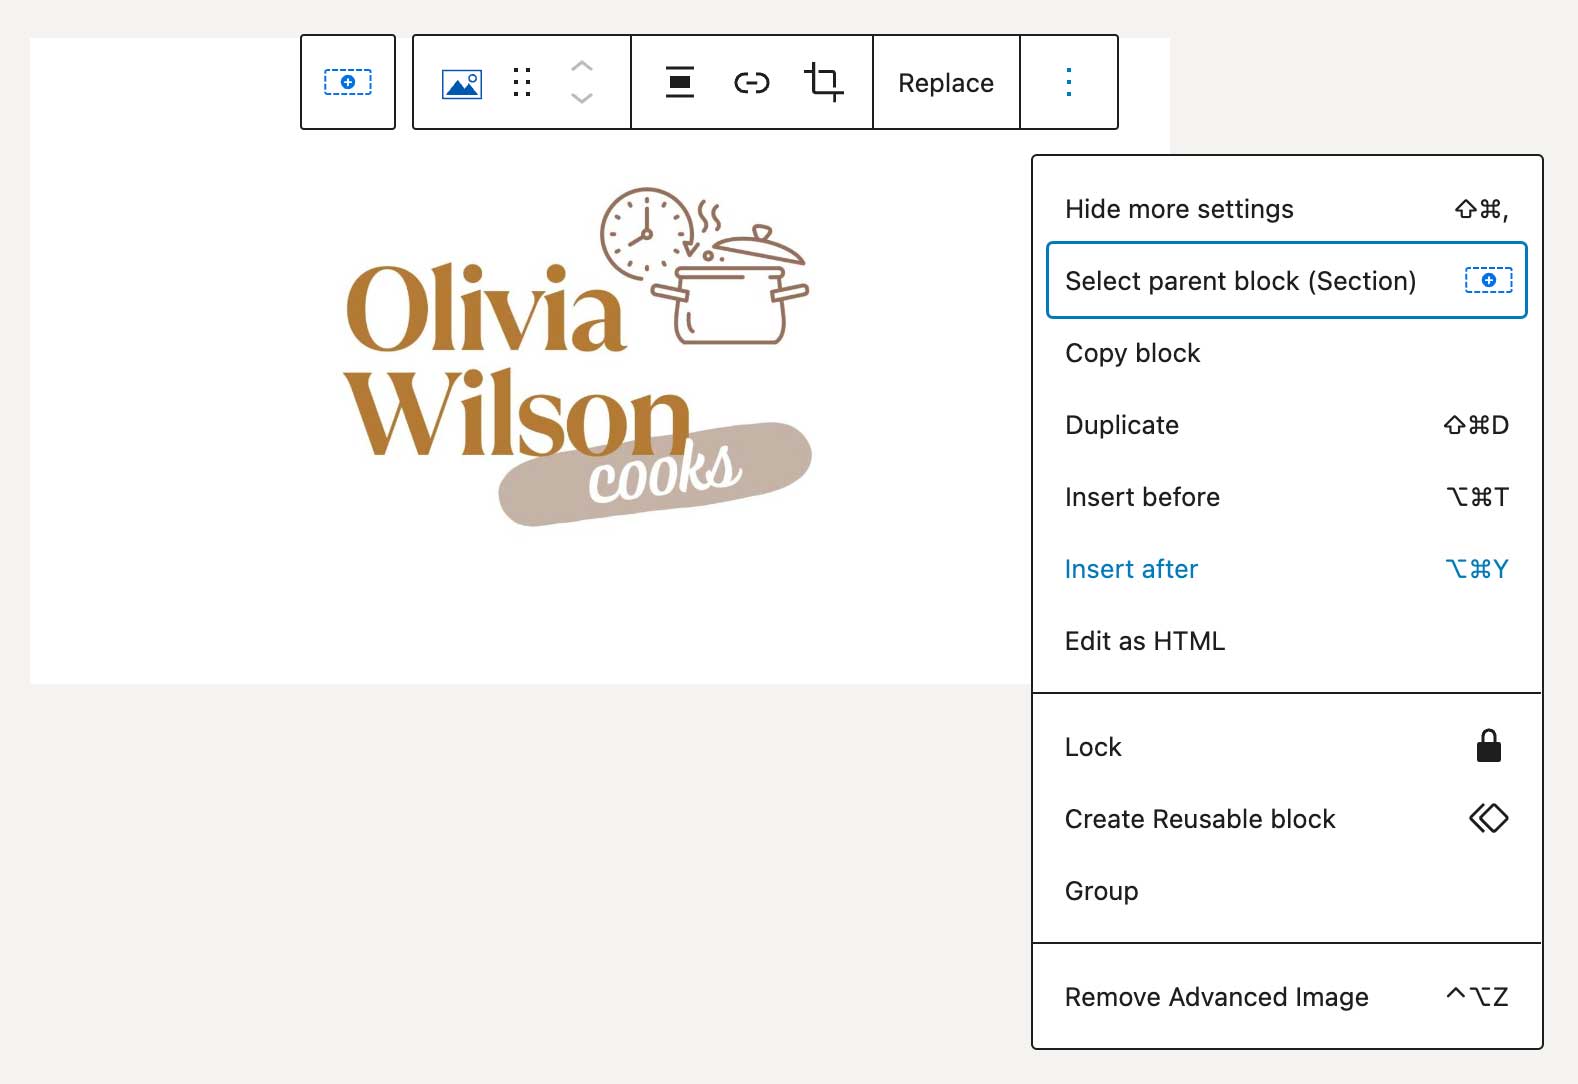
Now that we have our image inserted, we need a little bit of text right under it. You can use the 3 little dots on the toolbar above your image and choose Insert After from the drop down list.
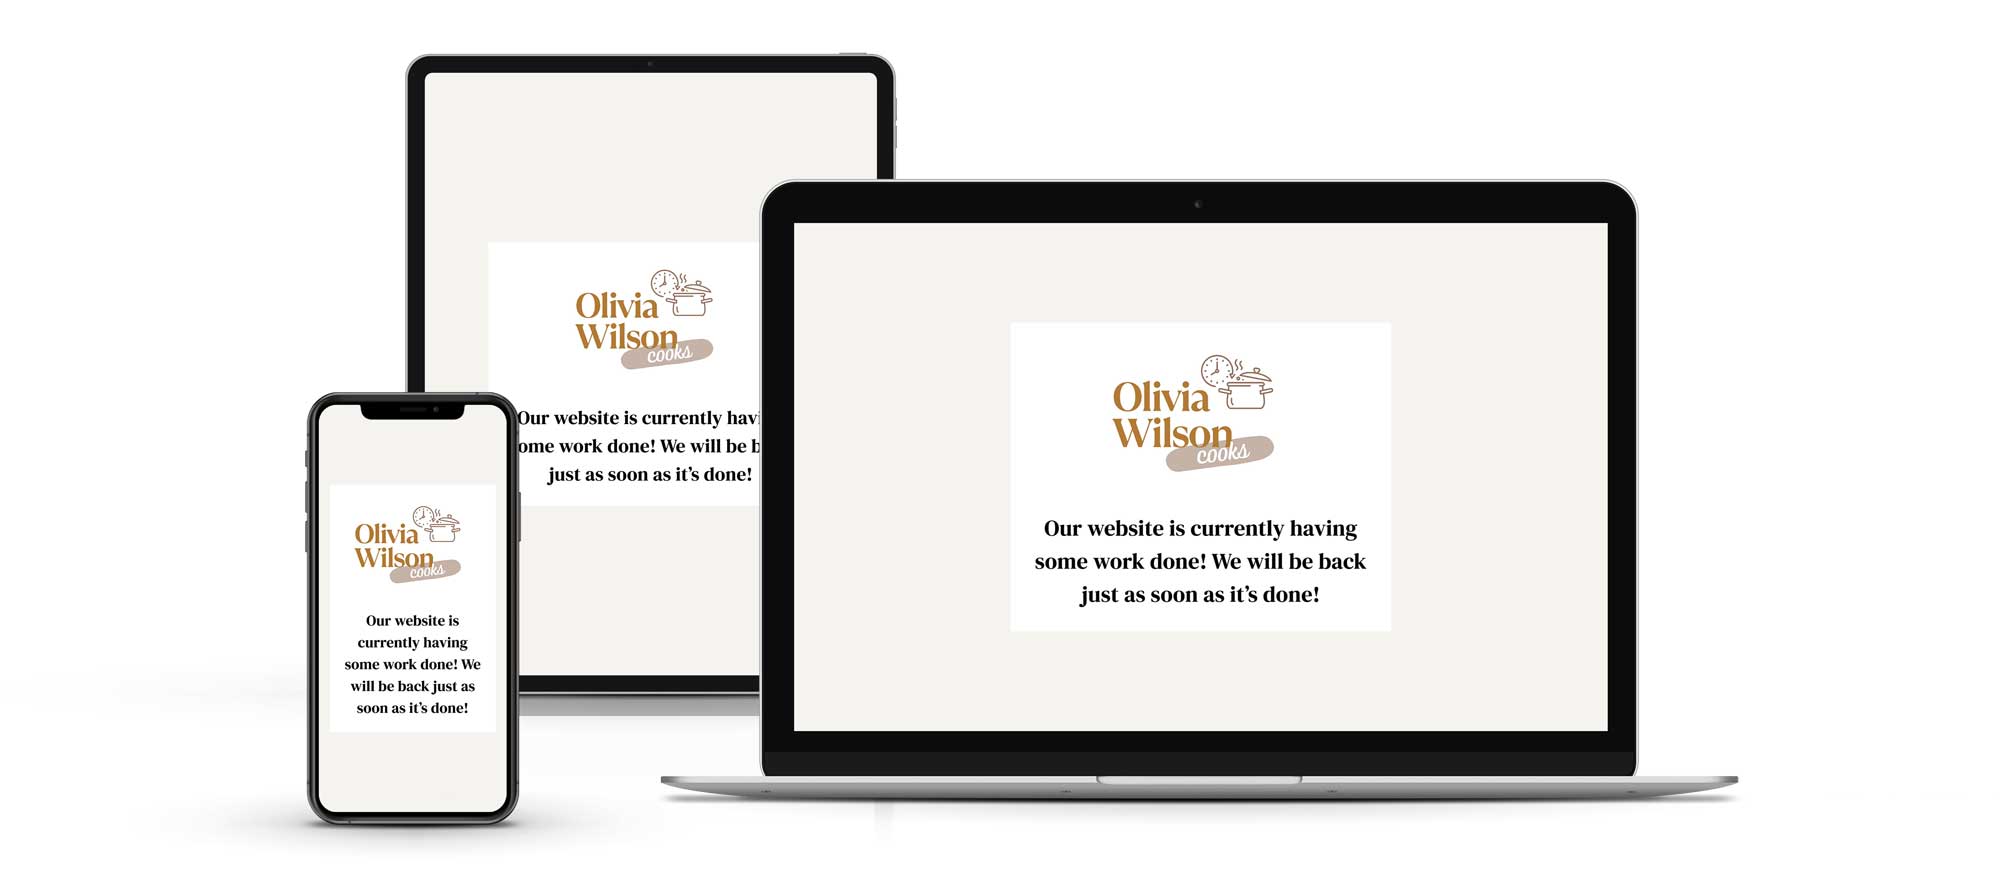
You can now type in what you’d like this notice to say! I went with “Our website is currently having some work done! We will be back just as soon as it’s done!“, but you can put whatever you’d like here!
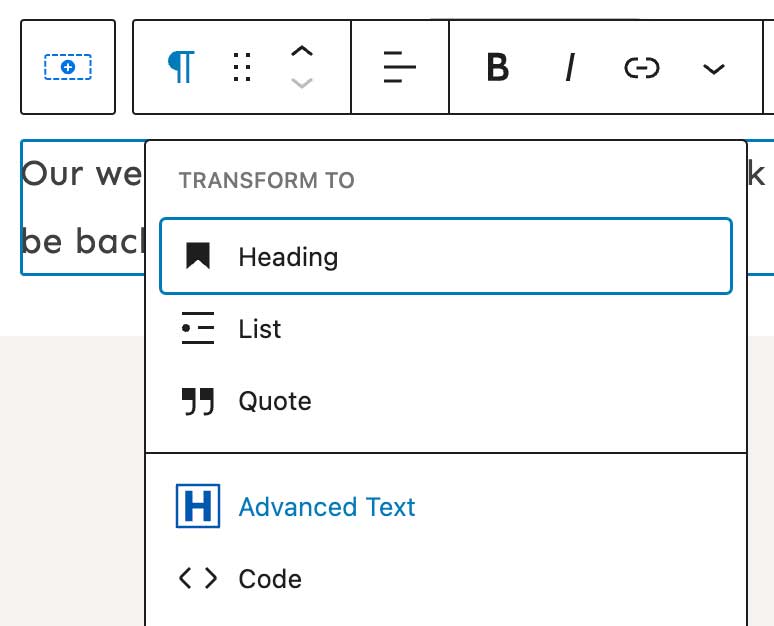
By default, the text you just typed will be paragraph text, but I’d like to change it to an Advanced Header H2 heading so it’s bigger and more noticeable. If you click on the little Paragraph icon above the text you just typed, you’ll see Advanced Text as an option to select. Select that and it will immediately make this text larger and an H2 tag which is exactly what we want!
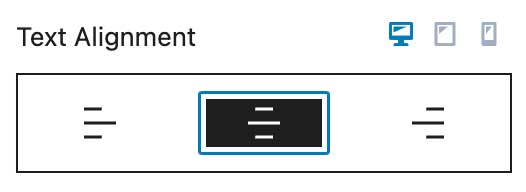
After this, all I want to do is center this text so it’s nice and centered under my logo above it. On the right side of the screen, you’ll see an option to center this text.
Now, you can finally hit that blue publish button in the top right of your screen!
Wahoo! At this point our page is created! That wasn’t so bad was it? Want to see how it looks?
3. Setting as your home page
The very last step in this process is actually setting this page we just created as your Home Page so that this is what people see when they land on your site!
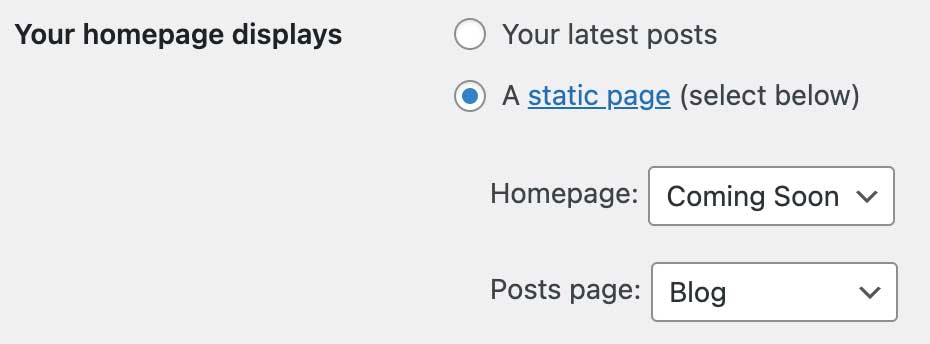
You’ll navigate to Settings > Reading in your WordPress Dashboard and choose the new Coming Soon page as your home page from the options at the top of the page.
Don’t have the time to create your own?
Join the newsletter and I’ll send you the code to copy/paste into your new page to save you some time!
Answering some Frequently Asked Questions
Since this is only on my home page, can’t people still access posts and other pages on the site?
Technically yes! If someone is coming to your site and landing on a direct blog post, they will still be able to see your site. This said, in the switching process between themes, your actual blog posts will look just fine to people visiting while you’re working. The only thing they will see is your header and footer spaces, so you may get those spaces fixed up first before designing your home and other pages!
How do I access my home page design now that the Coming Soon page has taken over my home page?
Great question! You will still see your home page design from your list of Pages in your WordPress dashboard, so you can edit and view from right there!
How long should I keep this up on my site?
For as long as you feel comfortable! Most bloggers don’t want to loose much traffic in the process of changing themes so they will put a coming soon page up, get their header, footer, and home page done, and then make their site live again while working on interior pages.
Additional tips for your coming soon page
- Add a button with a link to your blog page so people can still access your blog posts while you work! Your blog page is typically found at yourdomain.com/blog.
- Add your newsletter sign up box to collect new subscribers while you’re working! Then you can email them once the site is live and let them know all about your new website design!
- Invite people to follow you on your social media channels! You can add icons for all your networks or just add a button to follow you on your most used social media platform!
- Offer something for free to visitors while they wait for your website to come back up! In fact, a Short Optin page (example) from our Funnel Bundles would be a perfect Coming Soon page with your offer! All you’d have to do is swap out the titles letting them know your site is down at the moment, but here is a treat!
- Sell something on your site? Offer that directly on the Coming Soon under your notice! It could be something as simple as “While you wait, check out [this thing]!” and add a button with a link to your sales page!




Great tutorial Lauren! Thank you